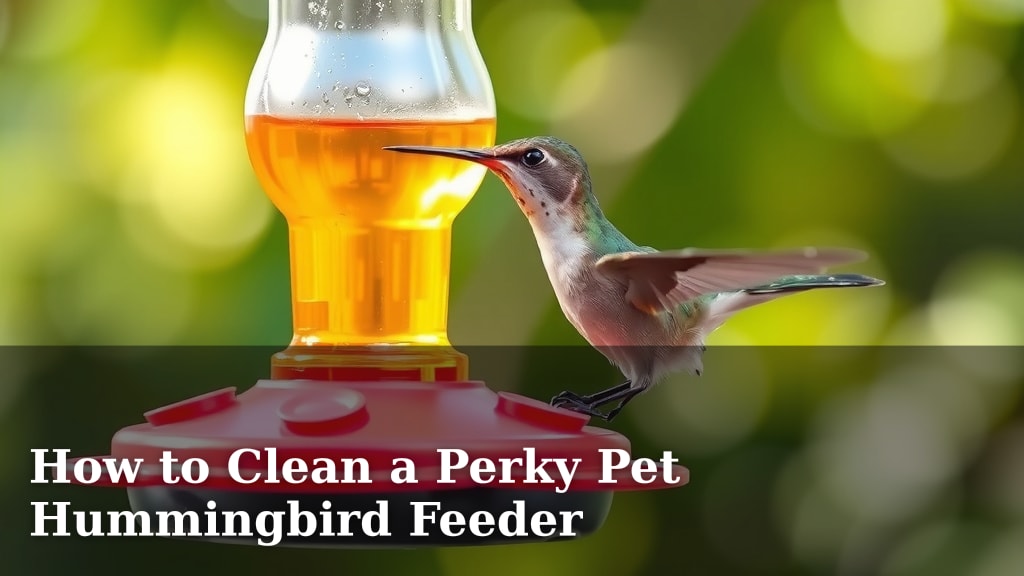
How to Clean a Perky Pet Hummingbird Feeder
The easiest way to clean your Perky Pet hummingbird feeder is to disassemble it completely and wash all parts in hot, soapy water at least twice a week. This prevents mold and bacteria from growing, keeping your hummingbirds healthy and happy. A clean feeder makes for a more enjoyable bird-watching experience for you!
Regular cleaning is essential for hummingbird health. Old nectar can ferment, becoming harmful. Many sources agree that a dirty feeder can deter these tiny, beautiful birds from visiting your yard. Keeping your feeder spotless ensures you’re providing a safe and appealing food source.
- Disassemble feeder completely.
- Wash parts in hot, soapy water.
- Rinse thoroughly and allow to dry.
- Reassemble and refill with fresh nectar.
- Clean at least twice a week.
Ready to give your Perky Pet feeder a good scrub? Let’s walk through exactly how to get it sparkling clean step by step.
You’ve got a beautiful Perky Pet hummingbird feeder, and you want to keep those dazzling little birds coming back for more. That’s wonderful! Keeping your feeder clean is the absolute best way to ensure they have a safe and delicious meal. Think of it like keeping your own kitchen spotless for guests – it shows you care.
Keeping Your Perky Pet Feeder Sparkling Clean
Regular cleaning prevents mold and bacteria. These can make your hummingbirds very sick. We found that cleaning it thoroughly at least twice a week is the general recommendation.
Gathering Your Cleaning Supplies
Before you start, gather everything you’ll need. Having it all ready makes the process quick and easy. You don’t want to be searching for a brush halfway through. This will save you time and hassle.
- Hot water
- Dish soap (mild, unscented is best)
- Feeder brushes (various sizes, including a small one for the ports)
- Clean towels or paper towels
- A small bucket or basin (optional, but helpful)
- Vinegar (optional, for stubborn build-up)
Step-by-Step Cleaning Process
Now, let’s get down to business. Cleaning your feeder doesn’t have to be a chore. We’ve broken it down into simple, manageable steps for you.
1. Disassemble the Feeder Completely
The first step is to take your feeder apart. You’ll want to separate every piece. This includes the base, bottle, flower ports, and any decorative elements. Getting to every nook and cranny is key. Many Perky Pet feeders are designed for easy disassembly.
2. Rinse Away Loose Nectar
Before you scrub, give all the parts a good rinse under warm water. This washes away any loose nectar or dead insects. It makes the actual washing much easier. You’ll see less sticky residue this way.
3. Wash with Hot, Soapy Water
Now, it’s time for the real cleaning. Use hot water and a few drops of mild dish soap. We found that a soft brush works wonders here. Gently scrub all the interior and exterior surfaces. Pay special attention to the feeding ports and the base where nectar can accumulate. The CDC recommends using soap and water for cleaning feeding equipment. This removes harmful contaminants.
4. Tackle Stubborn Residue (If Needed)
Sometimes, you might find some stubborn residue or mold. If this happens, don’t worry! You can make a solution of one part white vinegar to four parts water. Use this solution to soak the affected parts for about an hour. Then, scrub as usual. Vinegar is a natural disinfectant. It helps break down sticky buildup effectively.
5. Rinse, Rinse, and Rinse Again!
This is a super important step. You need to rinse every single piece thoroughly. Make sure no soap or vinegar residue remains. Hummingbirds have delicate systems. Any leftover cleaning agents could be harmful to them. Rinse under running water until you can’t see or smell any soap or vinegar. We found that rinsing each part under hot water for at least 30 seconds is a good practice.
6. Dry Everything Completely
Allow all parts to air dry completely on a clean towel or rack. You can also gently pat them dry with clean paper towels. Moisture can encourage mold growth. Ensuring everything is bone dry before reassembly is crucial. You don’t want to reintroduce moisture immediately.
7. Reassemble Your Clean Feeder
Once all parts are dry, put your feeder back together. Make sure everything fits snugly. You’ve done a great job! Your feeder is now ready for fresh nectar.
How Often Should You Clean Your Feeder?
Consistency is key to healthy hummingbird feeding. We found that most experts agree on cleaning your feeder at least twice a week. If you live in a hot climate, you might need to clean it even more often. Hot temperatures can cause nectar to spoil faster. You might even need to clean it daily in very high heat. This prevents fermentation and potential harm to the birds.
When to Replace Parts
Even with regular cleaning, some parts may wear out over time. If you notice cracks, discoloration, or broken pieces, it’s time for a replacement. Cracked feeders can harbor bacteria. They might also leak nectar. Perky Pet offers replacement parts for many of their feeders. Keeping an eye on the condition of your feeder ensures continued safety for your feathered friends.
Making Cleaning a Habit
We know life gets busy. Setting a schedule can help. Consider tying feeder cleaning to another regular task. For example, you could clean it every Sunday and Wednesday. Or maybe every time you get your mail. Find a rhythm that works for you. Your hummingbirds will thank you with their vibrant visits!
Conclusion
You’ve learned how to keep your Perky Pet hummingbird feeder sparkling clean, ensuring a safe and inviting dining spot for your feathered visitors. Remember, consistent cleaning prevents harmful mold and bacteria, keeping hummingbirds healthy. Disassembling, scrubbing with hot, soapy water, rinsing thoroughly, and drying completely are your key steps. Make this cleaning routine a habit, perhaps twice a week, and your yard will continue to be a hub for these amazing creatures. Now, go ahead and give your feeder that much-needed scrub!
Frequently Asked Questions
How do I clean mold from my hummingbird feeder?
If you spot mold, a solution of one part white vinegar to four parts water is your best bet. Soak the affected parts for about an hour, then scrub them thoroughly with your feeder brush. Rinse all parts extremely well afterwards to remove any vinegar residue.
Can I use bleach to clean my hummingbird feeder?
No, we strongly advise against using bleach. Bleach can leave harmful residues that are toxic to hummingbirds, even after rinsing. Stick to mild dish soap and hot water for regular cleaning, or vinegar for stubborn build-up.
What kind of soap should I use for cleaning?
It’s best to use a mild, unscented dish soap. Strong fragrances can be off-putting to hummingbirds. Always rinse the feeder parts very thoroughly to ensure no soap is left behind.
What if I don’t have special feeder brushes?
While feeder brushes are ideal, you can use a clean bottle brush or even a dedicated sponge that you only use for this purpose. Just make sure you can reach all the small areas, especially the feeding ports.
Can I leave the feeder out if it’s very hot outside?
In very hot weather, nectar spoils much faster. We found that you should clean your feeder daily in extreme heat to prevent fermentation. This is crucial for preventing your hummingbirds from getting sick.