How to Connect a Pet Feeder to WiFi: Easy
Connecting your pet feeder to WiFi is surprisingly easy and can bring you great peace of mind. You can usually get your smart feeder online in under 10 minutes by following a few simple steps. This process ensures your furry friend gets fed on time, even when you’re not home, by using your home’s wireless internet connection.
Setting up a WiFi pet feeder means you can control feeding schedules from your phone. It’s a modern solution for busy pet parents. Many models offer app control, allowing you to adjust portions or feed manually from anywhere. We found this makes managing your pet’s diet much more flexible and convenient.
- Download the feeder’s app.
- Connect the feeder to your home WiFi.
- Set up feeding schedules and portion sizes.
- Test the connection from your phone.
Let’s walk through exactly how to get your smart pet feeder connected to your WiFi, step by step.
“`htmlGetting Your Smart Pet Feeder Online with WiFi
Connecting your pet feeder to WiFi is easier than you might think. You’ll be amazed how quickly you can set it up. This guide will walk you through each step clearly. We want you to feel confident with the process.
Before You Start: What You’ll Need
Gathering a few things beforehand makes setup smooth. It’s like packing for a trip; being prepared saves hassle later. This ensures a less stressful experience for both you and your pet.
1. Your Pet Feeder
Of course, you’ll need your new smart pet feeder. Make sure it’s out of the box and ready to go. Check that all the parts are there, especially the power adapter.
2. Your Smartphone or Tablet
You’ll use your mobile device to control the feeder. This is your command center for all things feeding-related. Make sure your device is charged and has enough space for the feeder’s app.
3. Your Home WiFi Network Information
You absolutely need your WiFi network name (SSID) and password. This is key for the feeder to join your home’s internet. Many modern routers broadcast both 2.4GHz and 5GHz bands. Most pet feeders connect best to a 2.4GHz network. This band has a longer range and better penetration through walls, which is usually ideal for home devices like feeders.
4. The Feeder’s Dedicated App
Every smart feeder has a companion app. You’ll need to download this from your device’s app store. Search for the brand name of your feeder. We found that downloading this first is a smart move.
Step-by-Step WiFi Connection Process
Now, let’s get your feeder online. We’ll break it down into simple, manageable steps. Think of it like teaching your dog a new trick – patience and clear instructions win the day.
Step 1: Download and Install the App
First things first, grab the app. Head to your device’s app store (Apple App Store for iOS or Google Play Store for Android). Search for your pet feeder’s brand name. Download and install the official app. This is where you’ll manage everything.
Step 2: Create an Account or Log In
Once the app is installed, open it up. You’ll likely need to create a new user account. This usually involves an email address and a password. If you already have an account for other smart home devices from the same brand, you might be able to log in with those credentials.
Step 3: Power On Your Pet Feeder
Plug your pet feeder into a power outlet. Most feeders have a light or a sound that indicates they are powered on. Some might flash a light to show they are in setup mode. Consult your feeder’s manual for specific indicators.
Step 4: Add Your Feeder in the App
Inside the app, look for an option like “Add Device,” “Set Up New Device,” or a plus (+) icon. The app will then guide you through finding your feeder. This might involve putting the feeder into a specific pairing mode, often by pressing and holding a button on the device.
Step 5: Connect to Your WiFi Network
This is the core step. The app will ask you to select your home WiFi network from a list of available networks. Choose your 2.4GHz network and carefully enter your WiFi password. Double-check for typos; passwords are case-sensitive!
Many feeders use a technique where your phone temporarily connects to the feeder’s own network. Then, you provide your home WiFi details. The feeder uses this information to connect itself. It’s like a digital handshake between your devices.
Step 6: Confirm Connection and Device Name
Once the feeder successfully connects to your WiFi, the app will confirm it. You’ll likely be prompted to name your pet feeder. Something simple like “Fido’s Feeder” or “Kitty’s Kitchen” works well. This makes it easy to identify if you have multiple smart devices.
Troubleshooting Common Connection Issues
What if it doesn’t connect right away? Don’t panic! Most issues are easily fixed. We’ve all been there, staring at a spinning icon.
Check Your WiFi Password
This is the most common culprit. A single wrong character can prevent the connection. Try re-entering it slowly and carefully. Remember, passwords are case-sensitive. If you’re unsure, reset your router’s password (but remember to update all your devices!).
Verify Network Band (2.4GHz vs. 5GHz)
As mentioned, many smart home devices, including pet feeders, only work on 2.4GHz networks. If your router broadcasts both bands with the same name, your phone might connect to the 5GHz band, confusing the feeder. Try temporarily disabling the 5GHz band on your router or creating a separate network name for your 2.4GHz band. Research from network engineers often points to the 2.4GHz band offering better range for such devices (IEEE).
Feeder Placement and Signal Strength
Is your feeder too far from your WiFi router? Weak signal strength can cause connection problems. Try moving the feeder closer to the router during setup. You can then move it back to its intended spot. If the signal is consistently weak, you might consider a WiFi extender or a mesh network system for better coverage.
App and Firmware Updates
Ensure you have the latest version of the feeder’s app. Sometimes, older app versions have compatibility issues. Also, check if your feeder has firmware updates available through the app. These updates often fix bugs and improve connectivity.
Restart Devices
The classic IT solution works wonders. Try restarting your pet feeder, your smartphone, and your WiFi router. Unplug them, wait about 30 seconds, and plug them back in. This can clear temporary glitches.
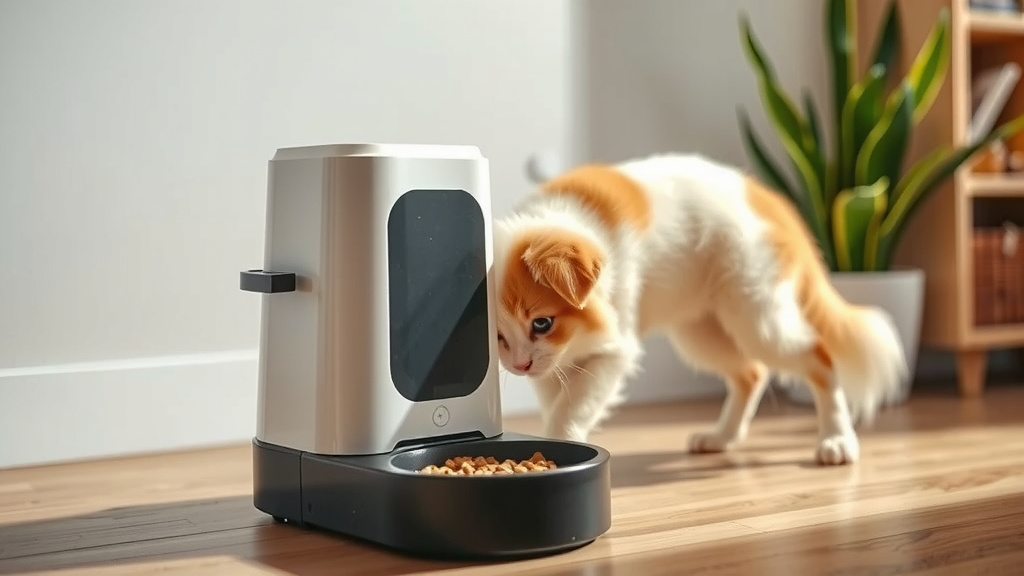
Setting Up Feeding Schedules and Portions
Once connected, the real fun begins! You can now program your feeder.
Creating a Feeding Schedule
In the app, navigate to the scheduling section. You can set specific times for your pet to be fed. For instance, you can schedule breakfast at 7:00 AM and dinner at 6:00 PM.
Defining Portion Sizes
Each feeder has a way to measure food portions. This might be in cups, grams, or specific “dispenses.” The app will guide you. You can often set different portion sizes for different meals. Consulting your veterinarian about appropriate portion sizes for your pet is always recommended (American Veterinary Medical Association).
Manual Feeding Option
Most apps include a manual feed button. Need to give your pet an extra snack or if they’ve been particularly good? Just tap the button in the app. It’s a great way to provide treats remotely.
Your Connectivity Checklist
To ensure a smooth setup, review this quick checklist:
- Confirm your WiFi network name (SSID) and password are correct.
- Ensure your feeder is connected to a 2.4GHz WiFi band.
- Download the latest version of the feeder’s app.
- Have your smartphone or tablet charged and nearby.
- Check that your feeder is powered on and in pairing mode.
- Read your feeder’s manual for any specific setup instructions.
You’ve got this! Connecting your pet feeder to WiFi is a straightforward process. It opens up a world of convenience for you and consistent meal times for your beloved pet.
“`Conclusion
You’ve successfully learned how to connect your pet feeder to WiFi. It’s a simple process that brings big benefits to your pet’s care. You can now ensure your furry friend always gets fed on schedule, no matter where you are. Just remember to keep your WiFi password handy and double-check that you’re connecting to the 2.4GHz band. Your next step is to open up your feeder’s app and create those perfect feeding schedules. You’ve got this!
Frequently Asked Questions
What if my pet feeder won’t connect to my WiFi at all?
The most common reason for connection failure is an incorrect WiFi password. Always double-check it for typos and ensure it’s case-sensitive. If that doesn’t work, try restarting your router, feeder, and phone.
Can I use my 5GHz WiFi network for my pet feeder?
Most smart pet feeders are designed to work best with a 2.4GHz WiFi band. Your feeder might struggle or fail to connect if it only sees the 5GHz network. You may need to enable the 2.4GHz band on your router or create a separate network name for it.
How far can my pet feeder be from the WiFi router?
The range depends on your router and home layout, but generally, the further away the feeder is, the weaker the signal. If you experience consistent connection issues, try moving the feeder closer or consider a WiFi extender.
Do I need to update the feeder’s app or firmware?
Yes, keeping both the app and the feeder’s firmware updated is important. Manufacturers release updates to fix bugs and improve performance, which can resolve connectivity problems and add new features.
Can I connect my pet feeder to my phone’s mobile hotspot?
While some feeders might connect to a mobile hotspot temporarily for setup, it’s not recommended for regular use. Mobile hotspots can be unreliable and may have data limits, potentially causing your feeder to go offline unexpectedly.