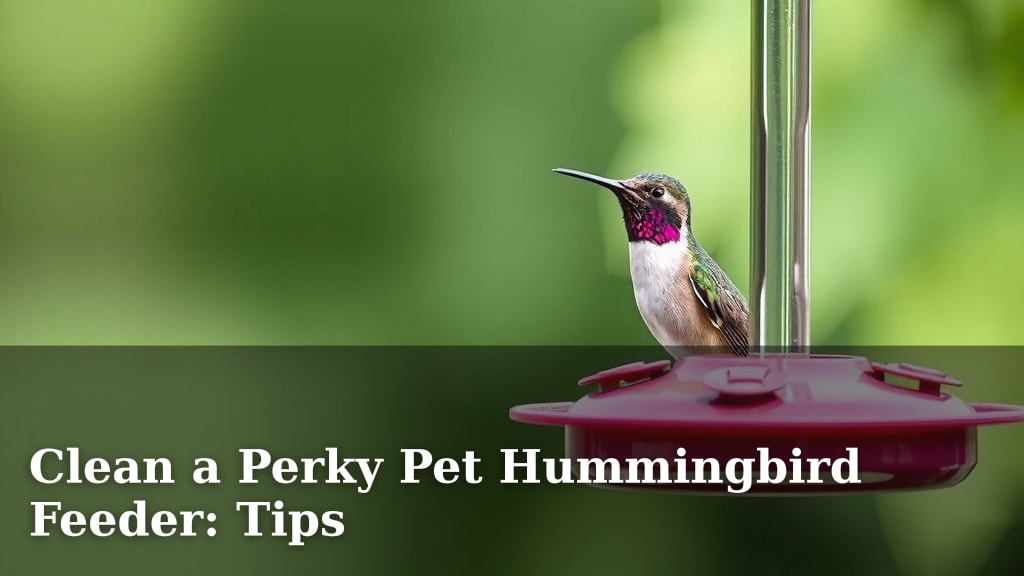
Clean a Perky Pet Hummingbird Feeder: Tips
The easiest way to clean your Perky Pet hummingbird feeder is to disassemble it completely and wash each part with hot, soapy water. You’ll want to do this every 2-3 days to keep your feathered friends healthy and happy. Regularly cleaning your feeder prevents the growth of mold and bacteria, which can be harmful to hummingbirds.
Keeping a clean feeder is more than just good housekeeping; it’s essential for the well-being of your garden visitors. Research shows that dirty feeders can spread disease among hummingbird populations. By making feeder cleaning a routine, you ensure your feeder is a safe, welcoming spot for these tiny, energetic birds to get their much-needed nectar. It’s a simple step that makes a big difference.
- Disassemble feeder completely.
- Use hot, soapy water for cleaning.
- Rinse thoroughly and allow to dry.
- Reassemble and refill with fresh nectar.
- Clean every 2-3 days.
Below, we’ll walk you through the simple steps to get your Perky Pet feeder sparkling clean and ready for hummingbirds!
“`htmlKeeping Your Perky Pet Feeder Spotless
You love watching hummingbirds flit around your yard. Their tiny wings beat so fast! You want to make sure they have a safe place to eat. Keeping your Perky Pet feeder clean is super important for their health. Dirty feeders can become a breeding ground for mold and bacteria. This can make hummingbirds very sick.
We found that consistent cleaning prevents disease spread. Many guidelines from wildlife organizations stress this point. Your feeder should be a healthy oasis, not a hazard. A clean feeder means happy, healthy hummingbirds returning to your garden. It’s a small effort with a big reward for these amazing birds.
Gathering Your Cleaning Supplies
Before you start, let’s gather everything you need. You don’t need fancy supplies. Most of what you need is likely already in your kitchen. Having these items ready makes the cleaning process quick and easy.
Essential Cleaning Tools
You’ll want a few key items on hand. These will help you get into all the nooks and crannies. A clean feeder is a healthy feeder, so don’t skip this step!
- Hot water: This is your primary cleaning agent.
- Mild dish soap: Use just a drop or two. Avoid harsh chemicals.
- Bottle brush or pipe cleaner: For scrubbing inside tubes and narrow openings.
- Soft sponge or cloth: For wiping down surfaces.
- Old toothbrush: Great for getting into tight spots and around flower details.
- Clean towels or a drying rack: To ensure all parts are completely dry before refilling.
What to Avoid
Some cleaning agents can be harmful to hummingbirds. It’s best to stick to simple, safe methods. We found that bleach and abrasive cleaners should be avoided.
- Bleach: Even diluted, bleach can be toxic to birds.
- Harsh detergents: Strong chemicals can leave residues that harm hummingbirds.
- Abrasive scrubbers: These can scratch plastic parts, creating places for bacteria to hide.
Step-by-Step Cleaning Process
Let’s get your Perky Pet feeder sparkling! Follow these steps for a thorough clean.
Disassembly is Key
First, carefully take your feeder apart. Most Perky Pet feeders come apart easily. Look for twist-off bases, removable flower ports, and hanging wires. Lay out all the pieces so you don’t lose anything. This ensures you can clean every surface properly.
Washing the Parts
Now, it’s time for the wash. Run all the parts under hot water. Add a tiny amount of mild dish soap to a basin of hot water. Use your sponge or cloth to wash each piece. Pay special attention to the feeding ports and the base. These areas tend to collect the most residue.
For those hard-to-reach spots, your bottle brush or old toothbrush is perfect. Gently scrub the inside of the nectar reservoir and any narrow tubes. We found that getting into these areas is vital for removing any built-up grime. Rinse each part thoroughly under hot running water. You want to make sure all soap residue is gone. Leftover soap can be harmful to the birds.
Drying is Crucial
After rinsing, let all the parts air dry completely. You can place them on a clean towel or a drying rack. Make sure they are fully dry before reassembly. This step is incredibly important. Moisture can encourage mold growth, even after cleaning. A dry feeder is a safer feeder for your hummingbirds.
Reassembly and Refill
Once everything is dry, put your feeder back together. Ensure all parts are securely in place. Then, you can refill it with fresh, homemade nectar. Using clean equipment ensures the nectar stays fresh longer. You’ve now created a safe and inviting dining spot!
How Often Should You Clean?
Consistency is the name of the game here. How often you need to clean your feeder depends on a few factors. The most important factor is the weather.
Temperature Matters
In hot weather, nectar can spoil much faster. We found that temperatures above 80°F (27°C) are a real concern. Nectar can start to ferment in as little as a day. This fermentation can produce alcohol, which is toxic to hummingbirds. Therefore, during hot spells, you might need to clean your feeder daily.
In cooler weather, nectar lasts a bit longer. You might be able to go 3-4 days between cleanings. However, it’s always better to err on the side of caution. We recommend checking your feeder every couple of days, no matter the temperature.
Visual Cues are Important
Always look for signs that your feeder needs attention. Even if it’s been only two days, if you see any of these, it’s time to clean:
- Cloudy nectar
- Black specks (mold or algae)
- Ants or bees making a nest
- A general “off” smell
These are all clear indicators that cleaning is overdue. Your hummingbirds will thank you for being vigilant!
Troubleshooting Common Feeder Issues
Sometimes, even with regular cleaning, you might encounter problems. Here are a few common issues and how to address them.
Mold and Mildew
If you spot mold, it’s time for a deep clean. You might need to use a weak vinegar solution. A 1:4 ratio of white vinegar to water can help kill stubborn mold. Make sure to rinse it out extremely well afterwards. Vinegar is generally considered safe, but thorough rinsing is still key (CDC).
Insects and Pests
Ants can be a real nuisance. Many Perky Pet feeders have built-in ant moats. Make sure yours is filled with water. This creates a barrier that ants can’t cross. For bees or wasps, ensure the feeding ports are clean and not leaking. Sometimes, bees are attracted to feeders that are difficult to access.
Feeder Damage
If parts of your feeder are cracked or broken, it’s time for a replacement. Small cracks can harbor bacteria and are hard to clean. They can also make the feeder leak, attracting unwanted pests. Check your feeder regularly for any signs of wear and tear.
Your Hummingbird Feeder Cleaning Checklist
Here’s a quick checklist to keep your Perky Pet feeder in top shape:
- Disassemble all feeder parts.
- Wash with hot, soapy water and a brush.
- Rinse thoroughly to remove all soap.
- Allow all parts to air dry completely.
- Check for mold, damage, or pests.
- Reassemble and fill with fresh nectar.
Conclusion
Keeping your Perky Pet hummingbird feeder clean is vital for the health of your tiny visitors. You’ve learned that a simple routine of disassembly, washing with hot, soapy water, thorough rinsing, and complete drying will do the trick. Remember to check your feeder every 2-3 days, adjusting frequency based on the weather. By committing to this regular maintenance, you ensure a safe and inviting nectar source. Your diligence will be rewarded with more frequent and vibrant hummingbird visits to your garden. Now, go ahead and give that feeder a good scrub!
Frequently Asked Questions
What’s the best way to get stubborn mold off my hummingbird feeder?
For stubborn mold, try a weak vinegar solution. A common recommendation is a 1:4 ratio of white vinegar to water. After using this, make sure to rinse all parts extremely thoroughly to remove any vinegar residue. This should help kill the mold and make the feeder safe again.
Can I use soap to clean my hummingbird feeder, or is it harmful?
Yes, you can and should use soap! We found that a mild dish soap is perfectly safe and effective for cleaning your feeder. The key is to use just a small amount and rinse every single part very well. This ensures no soap remains that could harm the hummingbirds.
How do I keep ants from getting into my hummingbird feeder?
Many Perky Pet feeders come with a built-in ant moat. You just need to keep this moat filled with water. The water creates a barrier that ants cannot cross to reach the nectar. Ensure the moat is always filled, especially during warmer months when ants are more active.
What if my feeder is damaged? Can I still clean it?
If your feeder has cracks or broken parts, it’s best to replace it. Small cracks can harbor bacteria and are very difficult to clean completely. They can also lead to leaks, which attract pests. A damaged feeder is not safe for your hummingbirds, even if you try to clean it.
Is it okay to leave the nectar in the feeder overnight?
Yes, it is generally okay to leave nectar in the feeder overnight. The main concern with nectar spoilage is heat. If temperatures are mild, the nectar should be fine. However, if it’s hot, especially above 80°F, the nectar can start to ferment quickly. In hot weather, it’s wise to change the nectar daily.