How to Clean an Automatic Pet Feeder: Guide
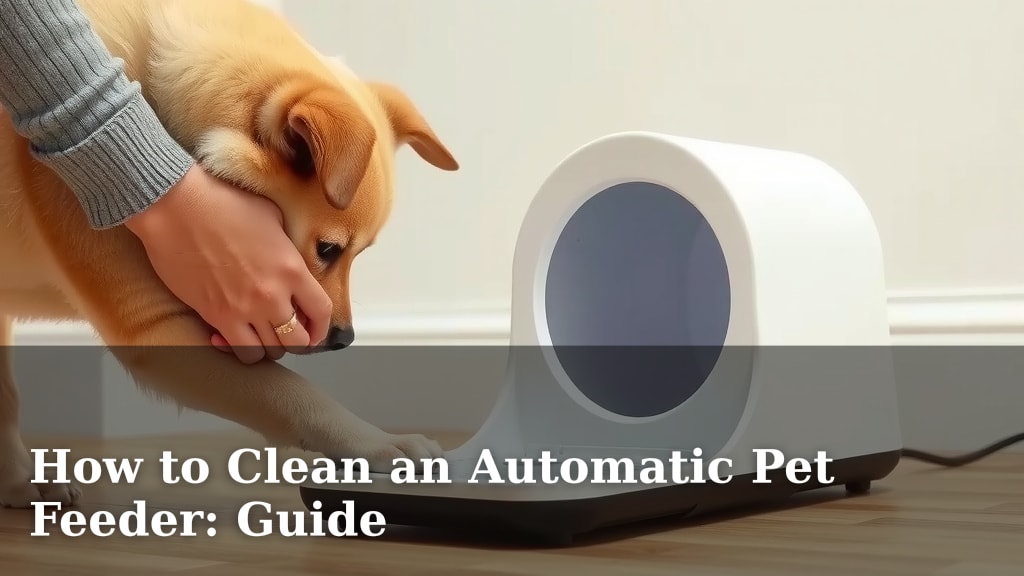
The best way to clean an automatic pet feeder is to disassemble it regularly and wash each part by hand with mild soap and water. This ensures you remove all food debris and potential germs. Keeping your pet’s feeder clean is vital for their health.
Many automatic feeders have removable bowls and food compartments. These are usually the parts that need the most attention. Regularly cleaning prevents mold growth and keeps food fresh. It also stops your furry friend from eating stale or contaminated kibble. Your pet deserves a spotless dining experience.
- Disassemble your feeder often.
- Use mild soap and water for cleaning.
- Dry all parts completely before reassembling.
- Check the manufacturer’s instructions.
- Clean the food chute and dispenser too.
Let’s walk through exactly how to get your automatic pet feeder sparkling clean, step by step.
Keeping Your Automatic Pet Feeder Sparkling Clean
An automatic pet feeder is a lifesaver for busy pet parents. But just like your pet’s food bowl, it needs regular cleaning. Not cleaning it can lead to a buildup of food particles and even mold. This can make your pet sick. We’ll walk you through making sure your feeder is always spotless.
Why Regular Cleaning is a Must
Think about it: your pet eats from this feeder every single day. Kibble can break down, leaving dust and crumbs. If moisture gets in, mold can start to grow. This is especially true for parts that hold the food or dispense it. Mold spores are not good for anyone, including your furry friend. Keeping the feeder clean helps prevent bacterial growth and keeps the food fresher and safer.
Research shows that food-related illnesses in pets can happen. While often linked to raw diets, contaminated dry food or feeders can also be a culprit. A clean feeder helps minimize these risks. It also ensures that your pet is getting their meal as intended, without any stale or off-flavors. Your pet will thank you for it with happy tail wags (or purrs!).
What You’ll Need for Cleaning
Gathering your supplies before you start makes the process smooth. You don’t need fancy cleaning products. Most of the time, simple household items will do the job perfectly. Having everything ready means you can clean your feeder quickly and efficiently.
- Mild dish soap
- Soft sponge or cloth
- Bottle brush (for narrow parts)
- Drying rack or clean towels
- Optional: White vinegar for stubborn smells
Step-by-Step Cleaning Guide
Step 1: Disassemble the Feeder
The first step is to take your feeder apart. Most automatic feeders are designed for easy disassembly. This usually involves removing the food storage hopper and the food bowl. Some models might have more parts, like a dispensing mechanism. Always refer to your feeder’s manual if you’re unsure. Gentle disassembly is key to avoiding damage.
Step 2: Wash Removable Parts
This is where most of the cleaning happens. Wash the food bowl and the food hopper. Use warm water and a little mild dish soap. A soft sponge or cloth works best. For the food bowl, give it a good scrub to remove any lingering food residue. You want it to be as clean as when it was brand new. This is important for preventing bacterial contamination.
Cleaning the Food Hopper
The food hopper can get dusty inside. Wipe it down thoroughly with a soapy cloth. If there are any stubborn spots, a bit of gentle scrubbing should help. After washing, rinse all parts well with clean water. Make sure no soap residue remains. This is important so your pet doesn’t ingest any cleaning agents. Many guidelines recommend rinsing thoroughly (CDC).
Step 3: Clean the Dispensing Mechanism and Food Chute
This part can be tricky. You don’t want to get water into any electronic components. For the food chute and dispensing area, use a damp cloth. If you can access these parts without risking damage, wipe them down. A bottle brush can be useful for reaching inside tubes or smaller openings. Just make sure it’s clean and dry before use. Dryness is vital here.
Dealing with Stuck-On Food
Sometimes, kibble can get stuck. If you find stubborn food particles, try using a dry brush first to dislodge them. If that doesn’t work, a slightly damp cloth might do the trick. For very stubborn residue, you can use a cotton swab dipped in a little bit of water or a diluted vinegar solution. Just be sure to wipe away any vinegar residue afterward.
Step 4: Dry Everything Thoroughly
This is a critical step that many people overlook. All parts must be completely dry before reassembling the feeder. Any moisture left behind can encourage mold and mildew growth. You can air dry the parts on a drying rack. Alternatively, you can use clean, dry towels. Ensure you get into all the nooks and crannies. Thorough drying prevents mold.
Step 5: Wipe Down the Base and Electronics
The base of the feeder usually contains the motor and electronics. Never submerge this part in water. Use a damp cloth to wipe down the exterior. Make sure there are no food crumbs or dust on the surface. If there’s a spill, wipe it up immediately. For battery-operated models, remove the batteries before cleaning the base. This protects the internal components.
How Often Should You Clean Your Feeder?
Experts generally recommend cleaning your automatic pet feeder at least once a week. If you have a multi-pet household, or if your pet has a sensitive stomach, you might want to clean it more often. A good rule of thumb is to give it a quick wipe-down every few days and a full clean weekly. This habit helps maintain a hygienic feeding environment for your pet.
Some feeders are dishwasher safe for their bowls and hoppers. Always check your manufacturer’s instructions before putting any part in the dishwasher. If the manual says it’s safe, it can make cleaning even easier. Just remember to let everything air dry completely afterward. Safety first for your beloved companion.
Tackling Odors and Stubborn Residue
Does your feeder have a lingering smell? A simple solution is white vinegar. After washing with soap and water, you can do a final rinse with a diluted vinegar solution (one part vinegar to three parts water). This helps neutralize odors. Make sure to rinse thoroughly with plain water afterward. Then, dry everything completely.
For very old or sticky residue, soaking can help. You can soak removable parts in warm, soapy water for about 15-20 minutes. This softens the gunk, making it easier to scrub away. Be cautious with soaking any part that contains electronics. Most manufacturers advise against this. Always check your manual first for specific cleaning instructions. A clean feeder means a happy, healthy pet.
Quick Cleaning Checklist
Here’s a quick rundown to ensure you don’t miss a step:
- Disassemble all removable parts.
- Wash the bowl and hopper with mild soap and water.
- Wipe the dispensing mechanism and chute with a damp cloth.
- Dry all parts completely before reassembly.
- Wipe down the base and electronic components.
- Reassemble only when everything is bone dry.
Conclusion
You’ve now got the know-how to keep your automatic pet feeder in top shape. Remember, a clean feeder means a healthier, happier pet. You’ve learned how to disassemble, wash, and dry each part effectively, including those tricky dispensing areas. Regular cleaning prevents nasty mold and bacteria, ensuring your furry friend always gets fresh food.
Don’t let cleaning become a chore; make it a routine. Your pet relies on this feeder every day, so a little effort goes a long way. So, grab your supplies and give that feeder a good scrub today. Your pet will thank you with wagging tails and happy purrs!
Frequently Asked Questions
How do I know if my pet feeder is truly clean?
Your feeder is clean when all parts are free of visible food debris and odors. After washing, ensure no soapy residue remains. A thorough drying process is key to preventing hidden mold growth.
Can I use harsh chemicals to clean my pet feeder?
No, it’s best to avoid harsh chemicals. Mild dish soap and water are usually sufficient. If you need to tackle odors, a diluted white vinegar solution is a safer alternative to strong cleaners.
My feeder has electronic parts. How do I clean those safely?
Never submerge electronic components in water. Use a slightly damp cloth to wipe down the base and any exterior surfaces. Ensure batteries are removed from battery-operated models before cleaning the base.
What should I do if food is stuck in the dispenser mechanism?
Gently try to dislodge stuck food with a dry brush first. If that doesn’t work, use a slightly damp cloth or a cotton swab dipped in water. Be very careful not to force anything or get water into electronic parts.
Is it okay to leave the food hopper full while cleaning other parts?
It’s best to empty the food hopper completely before cleaning. This allows you to thoroughly clean and dry the hopper itself, preventing any stale food or moisture from contaminating your pet’s fresh kibble.