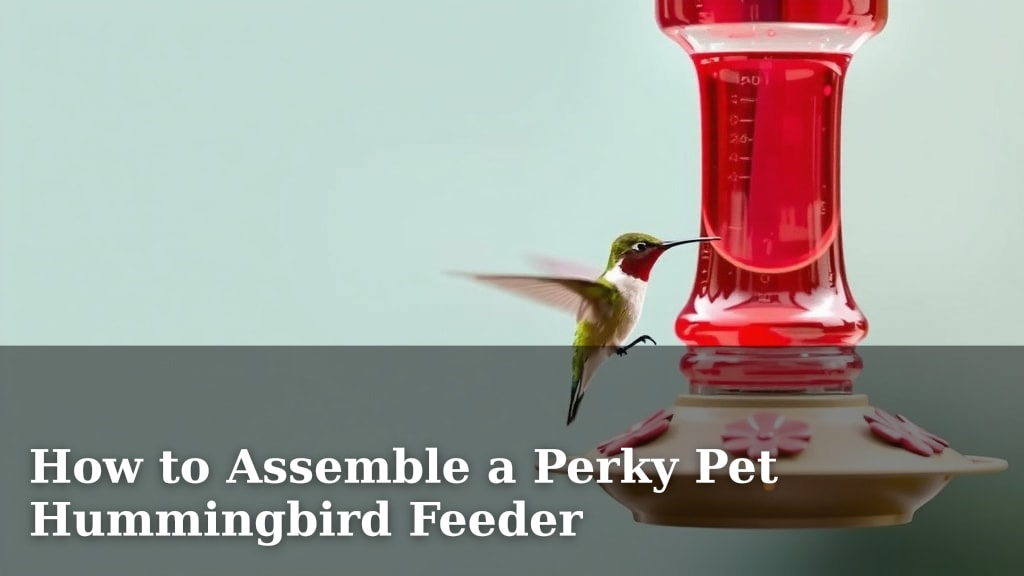
How to Assemble a Perky Pet Hummingbird Feeder
Assembling your Perky Pet hummingbird feeder is a straightforward process that doesn’t require much time or special tools. You can quickly get your feeder ready for those dazzling little birds by following a few simple steps. Ensuring all parts are correctly attached is key to a leak-free and enjoyable experience for both you and your feathered visitors.
Many people wonder if these feeders are tricky to put together, especially if it’s their first time. We found that with a little guidance, anyone can have their Perky Pet feeder ready in under 15 minutes. It’s a rewarding way to start attracting hummingbirds to your yard and offering them a consistent food source.
- Unpack all parts carefully.
- Identify the base, bottle, and any small seals.
- Check the instruction manual for your specific model.
- Connect the bottle to the base securely.
- Ensure no parts are missing or damaged.
Let’s walk through exactly how to assemble your Perky Pet feeder step by step, making sure it’s perfect for your first guests.
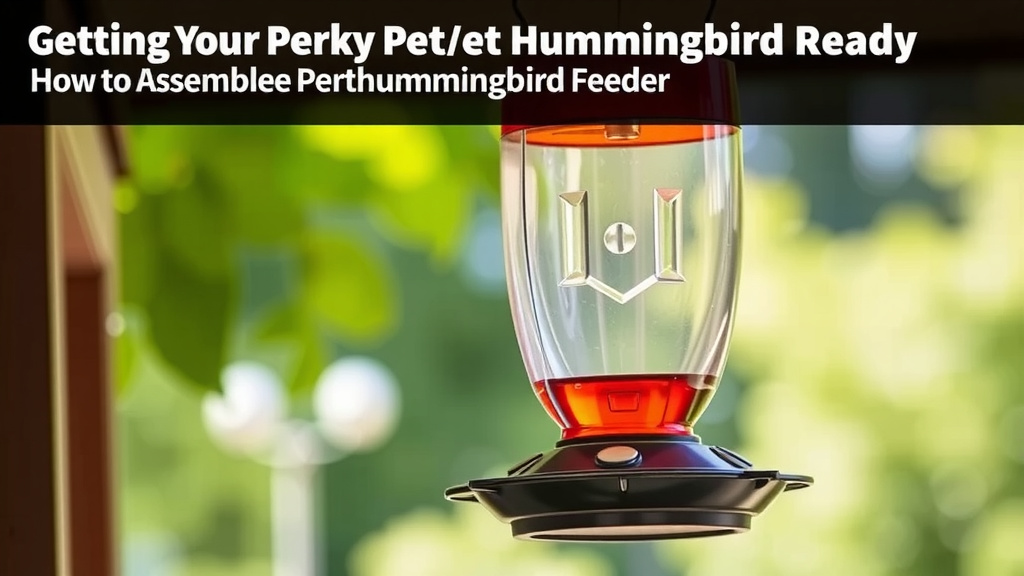
“`htmlGetting Your Perky Pet Hummingbird Feeder Ready
You’ve got your new Perky Pet hummingbird feeder, and you’re excited to see those tiny, energetic birds. Assembling it is simpler than you might think. We’ve found that most models are designed for quick setup. You can have it ready to hang in just a few minutes. This guide will walk you through each step.
Unpacking and Identifying Your Feeder’s Parts
The first step is to carefully unpack everything. You’ll find the main components of your feeder. These usually include the nectar reservoir (the bottle) and the base. The base is where the birds will feed from.
Checking for All Necessary Components
It’s important to make sure you have all the pieces. Look for any small rubber seals or gaskets. These are vital for preventing leaks. You should also find the lid or top for the reservoir. Sometimes there’s a base tray included for catching drips. Your Perky Pet feeder might also come with a small brush for cleaning. Always check the manufacturer’s list of included items if one is provided.
Understanding the Basic Feeder Structure
Most Perky Pet feeders follow a similar design. The nectar is stored in the glass or plastic bottle. When assembled, this bottle inverts and attaches to the feeding base. The base has small ports where hummingbirds can access the nectar. Little perches are often attached to the base as well. We found this inverted design helps keep the nectar fresh.
Assembling the Hummingbird Feeder: A Step-by-Step Guide
Now, let’s get to the fun part – putting it all together. It’s a straightforward process. We’ve found that following these steps ensures a good seal and prevents spills. This makes for a happy feeding experience for you and the birds.
Step 1: Preparing the Base
Take your feeder’s base. If your model has a separate drip tray, attach it now. Many bases have small parts that twist or snap into place. You might need to insert the feeding ports if they aren’t already attached. Ensure these ports are facing outwards, ready for the hummingbirds. We found it helpful to place the base on a flat surface for this step.
Step 2: Attaching Seals and Ports
This is where those small rubber seals come into play. If your feeder has separate feeding ports, make sure any included gaskets are properly seated around them. This creates a watertight seal. For models where the base and ports are one unit, check for any small rubber rings. You might need to press these firmly into place. A good seal prevents nectar from leaking out and keeps the solution fresh longer.
Ensuring a Leak-Proof Connection
The connection between the bottle and the base is critical. You want it to be tight. This is especially true if you plan to fill the feeder before hanging it. We found that a loose connection is the most common cause of messy leaks. Make sure any rubber seals are clean and free of debris before assembly. This helps them create a better seal.
Step 3: Filling the Nectar Reservoir
You’ll typically mix your hummingbird nectar using a ratio of 1 part plain white sugar to 4 parts boiled and cooled water. Avoid using honey, artificial sweeteners, or red dye, as these can be harmful to hummingbirds (National Audubon Society). You can fill the bottle using a funnel or pour directly from your measuring cup. Don’t fill it all the way to the brim; leave a little space at the top.
Safe Nectar Practices
It’s vital to keep your nectar fresh. Hummingbirds are picky eaters, and they won’t drink spoiled food. Always use plain white sugar and boiled, then cooled, water. Never add food coloring or artificial sweeteners, as these can be toxic. Research shows that red dye can be particularly harmful and isn’t necessary, as hummingbirds are attracted to the red parts of the feeder itself (Cornell Lab of Ornithology).
Step 4: Inverting and Securing the Bottle
This step requires a bit of care. You’ll take the filled nectar bottle and carefully place it upside down onto the assembled base. Align the mouth of the bottle with the top of the base. You may need to twist it slightly to get a good grip. As you press the bottle down onto the base, you might hear a slight hiss. This is normal, as air is being pushed out and nectar is flowing into the base.
The “Hiss” and What It Means
That little hiss you hear is actually a good sign. It means the seal is working and air is being exchanged. This allows the nectar to flow into the feeding ports. If you don’t hear a hiss, double-check that the bottle is seated properly. You might need to press down a little firmer. We found that giving it a gentle twist once seated helps ensure a secure fit.
Step 5: Final Checks Before Hanging
Once the bottle is secured to the base, give the whole feeder a gentle shake. Check for any immediate leaks around the connection point. A few drips might be normal as the nectar settles, but you shouldn’t see a steady stream. If you do, carefully lift the bottle and reseat it onto the base. Ensure all parts are snug and secure. You’re almost ready to hang your feeder!
Checklist for a Perfectly Assembled Feeder
To make sure you haven’t missed anything, here’s a quick checklist:
- All feeder parts are present and undamaged.
- Rubber seals or gaskets are clean and properly in place.
- The nectar reservoir is securely attached to the base.
- No visible leaks are present when the feeder is gently shaken.
- The feeder is ready to be filled with nectar.
Conclusion
You’ve successfully navigated the assembly of your Perky Pet hummingbird feeder! We’ve walked through unpacking, identifying parts, and securing the nectar reservoir. Remember, a proper seal is your best friend for preventing leaks and ensuring your hummingbirds get a clean meal. Now that your feeder is ready, it’s time for the most rewarding step: hanging it up and waiting for those tiny visitors. We found that a little care during assembly leads to a lot of joy watching hummingbirds.
Hang your newly assembled feeder in a safe spot, away from direct sun and predators. Your hummingbirds will thank you for it!
Frequently Asked Questions
How often should I clean my Perky Pet hummingbird feeder?
It’s best to clean your feeder every 2-3 days during hot weather and about once a week when it’s cooler. Research shows that old nectar can ferment and grow mold, which is harmful to hummingbirds. A good cleaning prevents spoilage and keeps your visitors healthy.
What kind of nectar should I use, and can I add red dye?
Always use a simple solution of 1 part plain white granulated sugar to 4 parts boiled and cooled water. We found that hummingbirds don’t need red dye, as they are attracted to the red parts of the feeder itself. Never use honey, artificial sweeteners, or other sugars, as these can be toxic.
My feeder is leaking, what should I do?
Most leaks occur because the connection between the bottle and the base isn’t secure or a seal is missing/damaged. Double-check that the bottle is twisted on tightly to the base. Ensure all rubber seals are clean, properly seated, and free of debris. A gentle twist after seating the bottle can often help create a better seal.
Can I assemble the feeder without the perch?
Yes, you can usually assemble and use your feeder without attaching the perches, especially if your model allows for it. While perches offer resting spots, hummingbirds often hover while feeding and don’t strictly need them. Your feeder will still function perfectly well without them.
What if some nectar leaks out when I invert the bottle?
A small amount of leakage as the nectar settles is normal, especially if you hear that “hiss” as air is exchanged. If you see a steady stream of nectar, however, the seal isn’t tight. Carefully detach the bottle, check all seals and connections, and reassemble, ensuring a snug fit before hanging it back up.