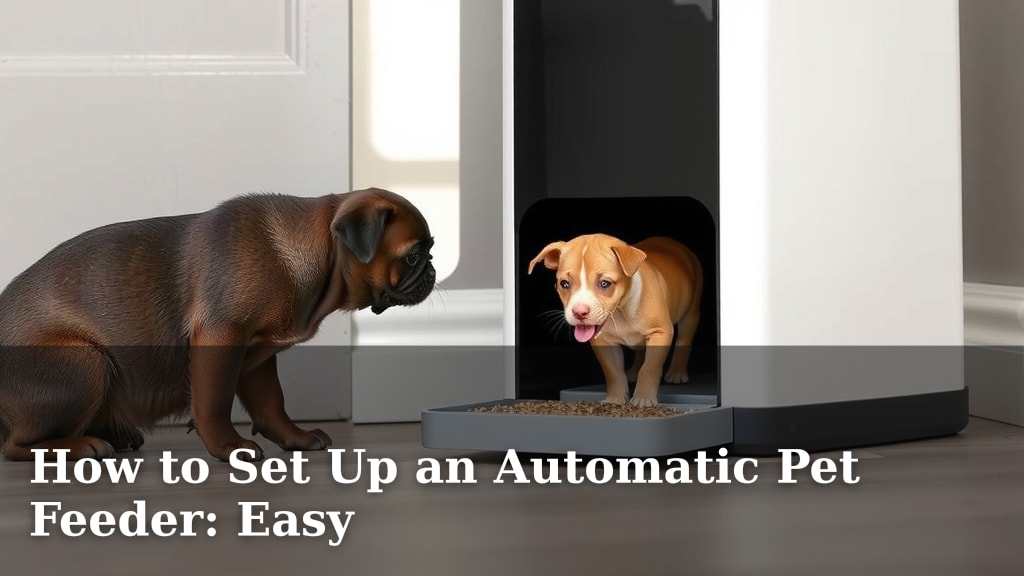
How to Set Up an Automatic Pet Feeder: Easy
Setting up an automatic pet feeder is surprisingly easy and can be done in a few simple steps. You’ll typically connect it to your Wi-Fi, download a companion app, and then schedule feeding times and portion sizes right from your phone. Many feeders also allow you to record a voice message to call your pet to mealtime, which is a fun bonus!
Automatic pet feeders are a lifesaver for busy pet parents. They help maintain a consistent feeding schedule, which is great for your pet’s digestion and overall health. Plus, you won’t have to worry about rushing home for feeding time or relying on neighbors when you’re away for a short trip. It’s a modern solution for modern pet ownership.
- Connect to Wi-Fi: Most feeders need internet access.
- Download the App: Control settings and schedules from your phone.
- Set Portions: Measure out the right amount of food.
- Schedule Feedings: Program times your pet eats.
- Test It Out: Make sure it works before you rely on it.
Ready to make mealtime a breeze? Let’s walk through exactly how to set up your automatic pet feeder step by step.
Setting Up Your Automatic Pet Feeder: A Simple Guide
Getting your automatic pet feeder up and running is much simpler than you might think. We’ve found that most models follow a similar, straightforward setup process. You’ll typically get it connected to your home’s Wi-Fi network and use a smartphone app to control all its features. This makes managing your pet’s meals from anywhere incredibly convenient.
Getting Started: What You’ll Need
Before you dive in, take a moment to gather everything. You’ll want to have your Wi-Fi password handy, as most feeders require it for connectivity. Make sure your smartphone is charged and has enough storage space for the feeder’s companion app. It’s also a good idea to have your pet’s regular food ready to go.
Unboxing and Initial Assembly
Once you’ve unboxed your feeder, take a moment to familiarize yourself with its parts. You’ll usually find the main unit, a food hopper, a food bowl, and a power adapter. Some models might have a desiccant bag to keep food fresh, which you’ll place in the hopper lid. Assembly is generally very intuitive. You’ll likely just need to attach the food bowl to the base and ensure the hopper is securely in place.
Connecting to Power and Wi-Fi
The first technical step involves connecting your feeder to power. Plug the adapter into the feeder and then into a wall outlet. Most feeders will have a light indicator to show they are powered on. Next, you’ll need to connect the feeder to your home Wi-Fi network. This is usually done through the feeder’s dedicated smartphone app.
Downloading the Companion App
You’ll find instructions in your feeder’s manual on which app to download. It’s usually available for both iOS and Android devices. Search for the app name in your device’s app store and install it. This app is your control center, allowing you to schedule meals, adjust portion sizes, and even receive notifications.
Pairing the Feeder with Your App
Open the app you just downloaded. It will guide you through the process of creating an account or logging in. Then, you’ll need to pair your feeder. Typically, this involves putting the feeder into “pairing mode” – the manual will explain how to do this, often by pressing and holding a button. The app will then search for your feeder, and you’ll select your home Wi-Fi network and enter your password. We found that having a strong Wi-Fi signal near where you plan to place the feeder really helps with a smooth connection.
Programming Your Feeder for Success
With the feeder connected, it’s time to set it up for your pet. This is where the magic happens, allowing you to automate your pet’s feeding schedule. You’ll use the app for all these adjustments.
Setting the Food Portions
Accurate portion control is key for your pet’s health. The app will allow you to specify the amount of food dispensed for each meal. Many feeders measure portions in small increments, like tablespoons or specific cup sizes. You’ll need to consult your veterinarian about the correct portion size for your individual pet based on their age, breed, activity level, and the type of food you use. We found that it’s best to start with a known measurement and then fine-tune based on your pet’s weight and energy levels over time (Veterinary Partner).
Scheduling Feeding Times
This is perhaps the most exciting feature. You can set multiple feeding times throughout the day. For example, you might schedule a breakfast feeding at 7 AM and a dinner feeding at 6 PM. Some feeders offer more advanced scheduling options, like a “slow feed” mode that dispenses food gradually to prevent overeating.
Testing the Dispensing Mechanism
Before you leave your pet completely to the automated system, it’s wise to run a few test dispenses. You can usually trigger a manual feed through the app to ensure food is dispensed correctly and that the portion size is as you expect. Watching this happen will give you confidence that it’s working properly. Many experts recommend doing this for a few days.
Adding Your Pet’s Food
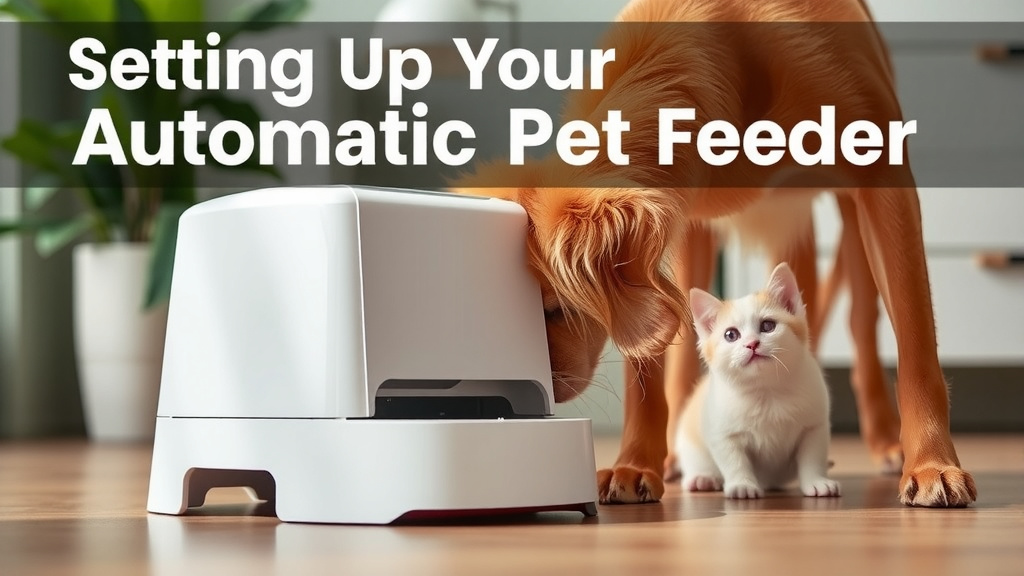
Once you’re confident in the settings, it’s time to fill the hopper. Open the lid and pour in your pet’s dry food. Be sure not to overfill it beyond the maximum line indicated. Make sure the lid is securely closed to keep the food fresh and prevent curious paws from accessing more than they should!
Optional Features to Explore
Many modern automatic pet feeders come with extra bells and whistles that can enhance your experience and your pet’s life.
Voice Recording for Mealtime Calls
This feature allows you to record a short voice message. When a feeding is about to happen, the feeder will play your recorded voice, calling your pet to eat. We found this can be especially helpful for pets who might be hesitant to approach the feeder initially or just for an added personal touch!
Camera and Two-Way Audio
Some high-end models include a built-in camera. This lets you check in on your pet remotely through the app. You can see if they’re eating, playing, or just napping. Often, these cameras also have two-way audio, so you can speak to your pet from your phone.
Battery Backup Options
For added peace of mind, look for feeders that offer a battery backup. If there’s a power outage, the battery will keep the feeder running and dispensing meals on schedule. This is a feature many pet parents find reassuring, especially if they live in an area prone to power interruptions.
Your Automatic Pet Feeder Checklist
- Ensure Wi-Fi is strong in the feeder’s location.
- Download and install the correct companion app.
- Connect the feeder to power.
- Pair the feeder with your smartphone app.
- Program accurate food portions and feeding times.
- Run test dispenses to confirm proper function.
Conclusion
You’ve now seen just how straightforward setting up an automatic pet feeder can be! By connecting to Wi-Fi, downloading the app, and programming your pet’s meal times and portions, you’re well on your way to a more convenient pet-parenting routine. We’ve covered everything from initial assembly to exploring advanced features like voice recording. This small investment in technology can lead to a big improvement in your pet’s health and your peace of mind. Take the next step and get your feeder set up this week!
Frequently Asked Questions
How do I know what portion size to set?
It’s best to consult your veterinarian for precise portion recommendations. They can advise you based on your pet’s age, breed, and activity level. You can then use the app to measure out these amounts accurately.
What if my Wi-Fi goes out?
Many automatic pet feeders have a battery backup option. This ensures that your pet still gets their meals even during a power outage. Check your model’s features for battery functionality.
Can I use any type of dry food?
Most automatic pet feeders are designed for standard dry kibble. It’s important to check the manufacturer’s specifications for kibble size compatibility. Avoid using wet food, as it can clog the mechanism.
How often should I clean my automatic pet feeder?
Regular cleaning is important for hygiene. We recommend cleaning the food hopper and bowl at least weekly. Some parts may be dishwasher safe, so check your manual for specific cleaning instructions.
What if my pet is scared of the feeder?
It’s common for pets to need time to adjust. You can start by placing the feeder near their usual feeding spot without food. Use the voice recording feature to associate your voice with mealtime. Gradually introduce food and let them explore it at their own pace.