How to Set an Automatic Pet Feeder: Easy Steps
Setting up an automatic pet feeder is simpler than you might think. You can easily set feeding schedules and portion sizes right from your phone or the feeder itself. This helps ensure your pet gets consistent meals, even when you’re not home.
Automatic feeders can be a lifesaver for busy pet parents. They offer peace of mind, knowing your furry friend won’t miss a meal. Many models allow you to customize portions, which is great for managing your pet’s diet and weight.
- Automatic feeders dispense food on a schedule.
- You can often control portion sizes.
- Many connect to Wi-Fi for remote control.
- Setup usually involves plugging in and setting the time.
- Check your model’s manual for specific instructions.
Ready to make mealtime a breeze for you and your pet? Let’s walk through exactly how to set up your automatic pet feeder step by step.
Getting Your Automatic Pet Feeder Ready: A Step-by-Step Guide
Setting up an automatic pet feeder sounds like a big task. But don’t worry, it’s quite straightforward. You’ll soon have your pet on a consistent feeding schedule. Let’s get your feeder unpacked and ready to go.
Unpacking and Initial Setup
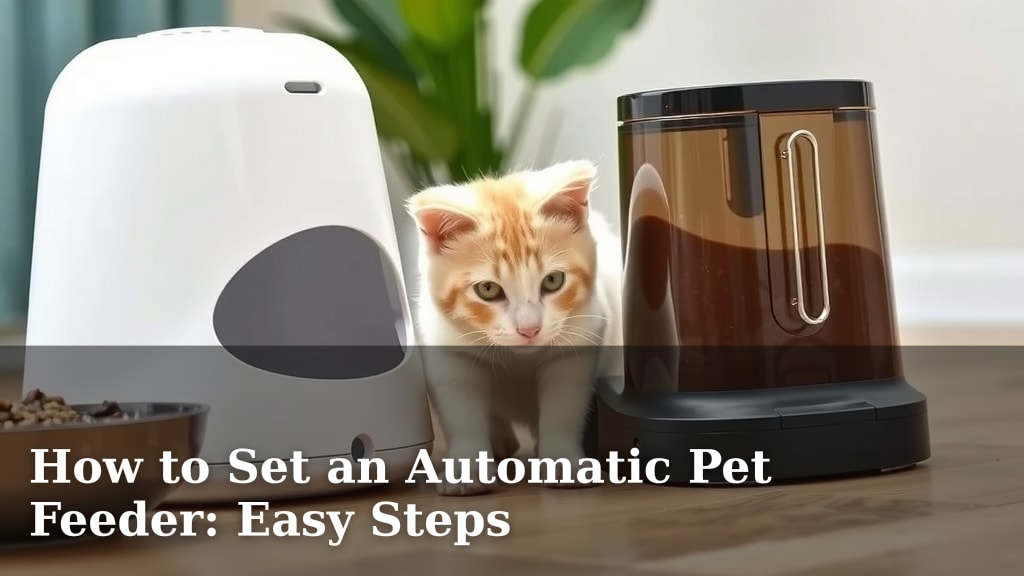
First things first, let’s get everything out of the box. You’ll typically find the feeder base, the food storage hopper, a food bowl, and a power adapter. Sometimes there’s a desiccant packet to keep food fresh – don’t let your pet eat that!
Powering Up Your Feeder
Your feeder needs power to run. Find a good spot near an outlet. Plug the power adapter into the feeder and then into the wall. Some feeders also use batteries as a backup. We found that using both ensures your pet never misses a meal, even during a power outage.
Assembling the Feeder Components
Now, let’s put the pieces together. Attach the food hopper to the feeder base. Make sure it clicks or locks securely. This prevents curious paws from knocking it off. Then, place the food bowl into its designated spot. Most bowls are removable for easy cleaning.
Programming Your Pet Feeder’s Schedule
This is where the magic happens! You tell the feeder when and how much to feed your pet. Different feeders have different control panels. Some use simple buttons, while others have advanced touchscreens or smartphone apps.
Setting the Current Time
Before you set feeding times, you need to tell the feeder what time it is. This is crucial for the schedule to work correctly. Look for a “Time Set” or “Clock” button. You’ll usually use arrow buttons or a dial to adjust the hours and minutes. Ensure you set it for AM or PM correctly.
Creating Feeding Schedules
Most feeders allow you to set multiple meals per day. You can usually set the exact time for each meal. Think about your pet’s routine. Are they early risers? Do they need a late-night snack? We found that setting meals consistent with their old routine can help them adjust faster.
Determining Portion Sizes
Portion control is key for your pet’s health. Your feeder will have a way to measure out the food. This might be in “portions,” “cups,” or grams. A “portion” is often a small, standardized amount the feeder dispenses. Check your feeder’s manual for what one portion equates to in volume or weight.
We recommend consulting your veterinarian about the ideal portion size for your pet. Factors like age, weight, activity level, and breed all play a role (American Animal Hospital Association). Many feeders have a range from small kibble bits to larger servings.
Using a Smartphone App (If Applicable)
If your feeder is Wi-Fi enabled, you’ll likely use an app. Download the app from your phone’s app store. Follow the on-screen prompts to connect the feeder to your home Wi-Fi network. This usually involves entering your Wi-Fi password. The app offers a user-friendly interface for setting times and portions. Many apps also let you record a voice message for your pet. This can help comfort them during meal times when you’re away.
Filling the Feeder and Testing It Out
Once programmed, it’s time to add the food and see it in action. Make sure you’re using the right kind of food.
Choosing the Right Food
Automatic feeders work best with dry kibble. Wet food can get messy and spoil. Also, make sure the kibble size is appropriate for your feeder’s dispenser mechanism. If kibble pieces are too large or oddly shaped, they might jam the feeder. We found that using a standard-sized, round kibble works best for most models.
Loading the Food Hopper
Open the lid on top of the food hopper. Pour in your pet’s dry food. Don’t overfill it. There’s usually a “max fill” line. Close the lid securely. This keeps the food fresh and prevents your pet from accessing it prematurely.
Running a Test Dispensing Cycle
It’s wise to run a test cycle before leaving your pet alone with the feeder. Many feeders have a manual dispense button. Press it once to see how much food comes out. Does it seem like the right portion? Does the food flow smoothly into the bowl? If you’re using the app, you can often trigger a manual dispense from there too. Adjust settings as needed based on this test run.
Tips for Successful Integration
Your pet might be a bit wary of the new contraption at first. Here’s how to make the transition smoother.
Gradual Introduction
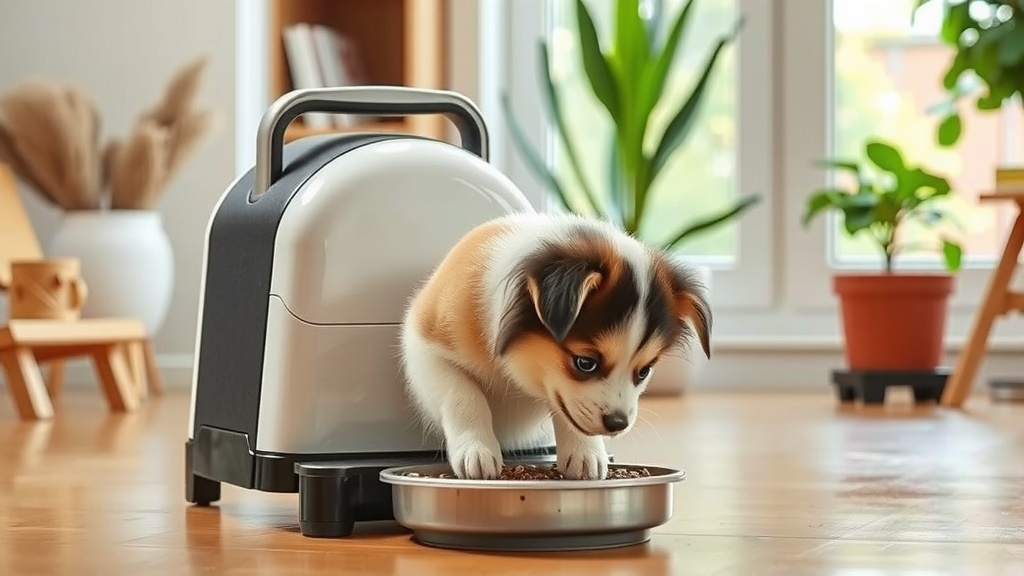
Don’t just present the feeder and walk away. Let your pet investigate it. You can even place a few treats near or in the bowl to create positive associations. For the first day or two, you might still feed your pet one meal manually while the automatic feeder dispenses another. This helps them get used to the sounds and presence of the feeder.
Monitoring and Adjustments
Keep an eye on your pet during the first few days. Are they eating the food? Is the portion size appropriate? Are they having any digestive issues? You might need to fine-tune the schedule or portion sizes based on their reaction. This is normal and part of the setup process.
Here’s a quick checklist to make sure you’ve covered all the bases:- Have you plugged in the feeder and confirmed it has power?
- Is the current time correctly set on the feeder?
- Have you programmed your desired feeding times and portion sizes?
- Is the food hopper filled with appropriate kibble and securely closed?
- Have you run at least one manual test dispensing cycle?
- Is your pet comfortable with the feeder’s presence?
Conclusion
You’ve now learned how to set up your automatic pet feeder. We walked through unpacking, assembly, and programming the feeding schedule and portions. You know how to choose the right food and test the feeder before relying on it. Integrating the feeder gradually will help your pet adjust. Remember to monitor your pet’s habits and make minor adjustments as needed. Your pet’s consistent mealtime is now within reach!
Ready to give it a try? Download your feeder’s app or grab your manual and get started on programming your first meal!
Frequently Asked Questions
How do I know if my pet’s kibble is the right size for the feeder?
Most automatic feeders work best with standard-sized, dry kibble. Check your feeder’s manual for specific size recommendations or limitations. If kibble pieces are too large or oddly shaped, they might jam the dispenser.
What should I do if my pet is scared of the new feeder?
Introduce the feeder gradually. Place treats near it to create positive associations. You can also let your pet investigate it on their own terms. For the first few days, you might feed them one meal manually while the feeder dispenses another.
Can I use an automatic feeder for wet food?
Generally, automatic feeders are designed for dry kibble only. Wet food can spoil quickly and create a mess if left in the dispenser. If you need to feed wet food, consider a refrigerator-compatible automatic feeder with a chilling mechanism.
How often should I clean my automatic pet feeder?
You should clean the food hopper and bowl regularly, ideally once a week. This prevents bacterial growth and keeps the food fresh. Make sure to unplug the feeder before cleaning any electronic parts.
What happens if the power goes out while using an automatic feeder?
Many automatic pet feeders have a battery backup option. If your feeder uses batteries as a backup, it will continue to dispense food during a power outage. Always check your model to see if it has this feature and ensure batteries are installed and functional.