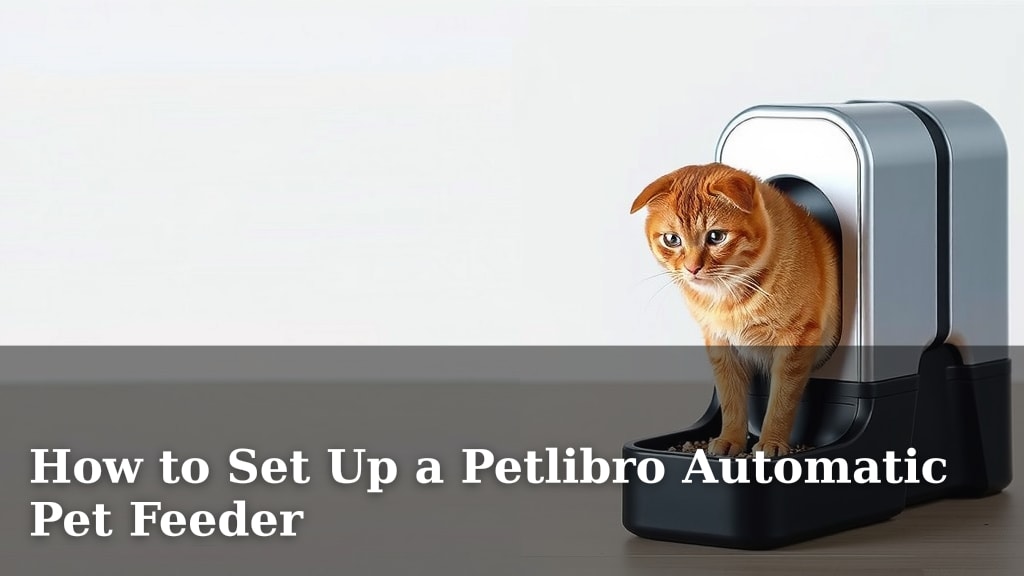
How to Set Up a Petlibro Automatic Pet Feeder
Setting up your Petlibro automatic pet feeder is surprisingly straightforward. You’ll typically be done in under 30 minutes, from unboxing to programming your first meal schedule. The process involves assembling the food tank, connecting the power, and using the control panel to set feeding times and portion sizes for your furry friend.
We found that getting the feeder ready doesn’t require any special tools or technical know-how. It’s designed for ease of use, so you can spend less time fiddling and more time enjoying meals with your pet. Ensuring your pet gets fed on time, even when you’re busy, is the primary goal, and this feeder helps you achieve that.
TL;DR:
- Unpack and assemble the main components.
- Connect the power source and ensure it’s stable.
- Program feeding times and portion sizes via the control panel.
- Test a feeding cycle to confirm it’s working correctly.
Let’s walk through exactly how to get your Petlibro feeder up and running, step by step.
Getting Your Petlibro Feeder Ready for Mealtime Success
Setting up your Petlibro automatic pet feeder is simpler than you might think. You’ll have your furry friend on a consistent feeding schedule in no time. We’ve found that following a few key steps makes the whole process smooth and stress-free.
Unpacking and Assembling the Components
First things first, let’s get everything out of the box. You’ll find the main food dispenser unit, the food tank lid, and the power adapter. Most models also include a desiccant bag holder and a desiccant bag to keep food fresh. Some might come with a bowl, while others expect you to use your own or the attached one. Always check the user manual for your specific model.
Attaching the Food Tank and Lid
Your Petlibro feeder comes in a few main pieces. You’ll need to attach the food tank to the base unit. This usually just involves sliding it into place until it clicks. Then, secure the lid onto the food tank. Make sure it fits snugly. This helps prevent your pet from getting into the food prematurely or tampering with the mechanism.
Installing the Desiccant Bag
Food freshness is key for your pet’s health. To combat moisture and keep kibble crisp, your feeder has a place for a desiccant bag. This is typically a small compartment within the lid of the food tank. Open it, place the desiccant bag inside, and close it securely. This step is especially important if you live in a humid climate.
Connecting the Power Source
Your Petlibro feeder needs power to operate. Locate the power port, usually on the back or side of the unit. Plug the included power adapter into the port and then into a wall outlet. We recommend plugging it into a socket that is not easily accessible to your pet. Some feeders also have a battery backup option. If yours does, insert the batteries according to the instructions. This ensures your pet won’t miss a meal if the power flickers.
Setting Up the Basic Controls
Now that your feeder is powered up, it’s time to get it ready to dispense food. The control panel is your main interface. It might seem a little daunting at first, but it’s quite intuitive once you get the hang of it. We found the button layout to be pretty standard across different models.
Understanding the Display Screen
Most Petlibro feeders feature an LCD screen. This screen shows you the current time, feeding schedule, and device status. Before you program anything, it’s a good idea to set the current time correctly. Use the designated buttons (often labeled “Time” or with a clock icon) and arrow keys to adjust the hours and minutes.
Programming Your First Feeding Schedule
This is where the magic happens! You’ll tell your feeder exactly when and how much to feed your pet. Look for a “Program” or “Meal” button. Press it to enter programming mode. You can usually set multiple meals per day. For each meal, you’ll select the desired time and the portion size. Petlibro feeders typically offer various portion sizes, measured in small increments.
Choosing the Right Portion Size
Determining the correct portion size is vital for your pet’s health and weight management. Consult your veterinarian for guidance on how much your specific pet should eat daily. Then, translate that into the feeder’s portion settings. We found that starting with a slightly smaller portion and observing your pet’s weight and energy levels is a good approach. Too much food can lead to health issues like obesity (CDC).
Setting Multiple Meals
You can usually set up to 4 or 6 meals a day, depending on your model. This is fantastic for pets who do better with smaller, more frequent meals. For example, you might set breakfast at 7 AM, lunch at 1 PM, and dinner at 6 PM. You can customize this to fit your pet’s routine and your lifestyle. Consistency is key for their digestive health and overall well-being.
Testing and Final Checks
Before you leave your pet to the mercy of the machine, it’s wise to test everything. This gives you peace of mind and ensures no hiccups occur when you’re not around.
Initiating a Manual Feeding
Most feeders have a manual feed button (often labeled “Manual Feed” or with a paw print). Pressing this will dispense one portion of food immediately. This is a great way to see the mechanism in action and hear if it sounds normal. It also lets your pet get acquainted with the sound of the dispenser.
Verifying the Feeding Schedule
If you’ve programmed a meal for the near future, wait for that time to arrive. Watch to see if the feeder dispenses the correct portion size at the scheduled time. Did the kibble come out smoothly? Was the amount correct? If not, don’t worry! You can easily go back into the programming menu and make adjustments. We found that a quick test run saves potential problems down the line.
Ensuring Bowl Placement and Stability
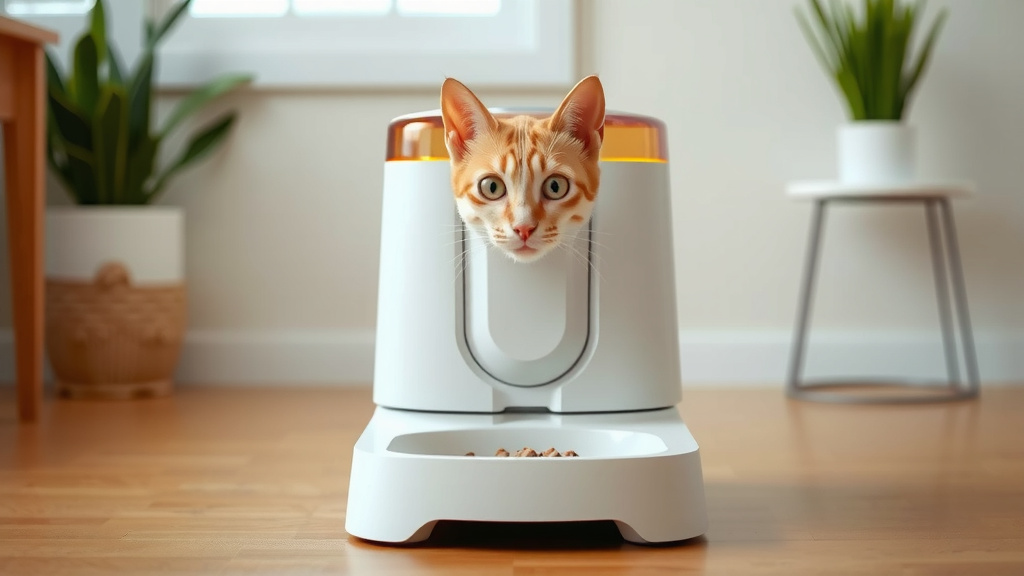
Make sure the food bowl is positioned correctly under the dispenser chute. Ensure the feeder itself is stable and won’t tip over. Some units come with a bowl, while others allow you to use your own. If you’re using a separate bowl, ensure it’s heavy enough or placed in a way that your pet can’t easily knock it over. A wobbly feeder or a tipped bowl can be a messy disaster.
Quick Setup Checklist:
- Food tank and lid are securely attached.
- Desiccant bag is properly installed for freshness.
- Power adapter is plugged in, and batteries are inserted (if applicable).
- Current time is accurately set on the feeder.
- At least one mealtime and portion size are programmed.
- A manual feed test has been successfully completed.
Conclusion
You’ve successfully set up your Petlibro automatic pet feeder! We’ve covered unpacking, assembly, connecting power, and programming those all-important feeding schedules. Remember, consistency is key for your pet’s health and happiness. You can now rest easier knowing your furry friend will be fed on time, every time. Take a moment to admire your work – you’ve got this feeding thing down!
Your next step is to monitor your pet closely for the first few days. Ensure they are adjusting well to the new feeding routine and that the portion sizes are just right. Happy feeding!
Frequently Asked Questions
How do I set the current time on my Petlibro feeder?
You’ll typically use the “Time” button or a clock icon on the control panel. Use the arrow buttons to adjust the hours and minutes until the correct time is displayed on the LCD screen. It’s important to set this accurately for your programmed meal times.
Can I adjust the portion size for each meal?
Yes, absolutely. When programming each meal, you can select from various portion sizes offered by your Petlibro feeder. These are usually measured in small increments, allowing you to fine-tune your pet’s intake based on veterinary recommendations.
What if my pet tries to get into the food tank?
The food tank lid is designed to fit snugly to prevent pets from accessing the food directly. Ensure the lid is securely fastened after each refill. For persistent pets, you might need to place the feeder in a location they can’t easily reach or stand on.
Does the Petlibro feeder work if the power goes out?
Many Petlibro models come with a battery backup option. If yours has this feature, be sure to insert fresh batteries as instructed. This ensures your pet’s feeding schedule continues uninterrupted during power outages.
How often should I clean my Petlibro automatic feeder?
It’s best to clean the food tank and bowl regularly, typically once a week. Wash them with mild soap and water, ensuring all parts are completely dry before reassembling. This helps maintain food freshness and prevents any buildup.