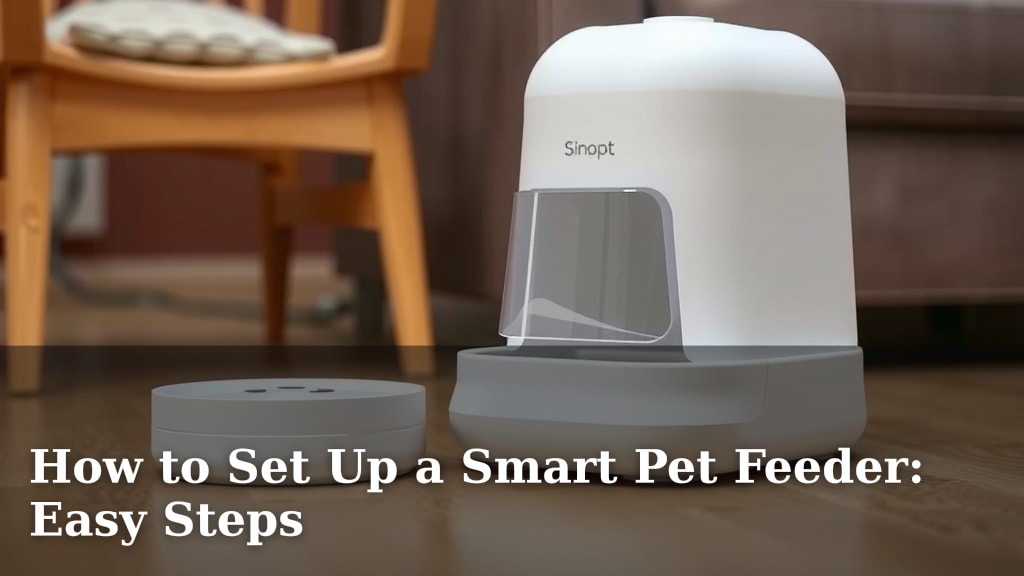
How to Set Up a Smart Pet Feeder: Easy Steps
Setting up a smart pet feeder is a straightforward process. You can easily connect it to your Wi-Fi and schedule meals right from your smartphone. This helps ensure your furry friend is fed on time, even when you’re not home, offering peace of mind.
Smart pet feeders offer more than just automatic feeding. Many allow you to monitor your pet’s eating habits and portion sizes, which is great for maintaining their health. You can also often use them to record voice messages to call your pet for meals, adding a personal touch and keeping them engaged.
- Connect feeder to your home Wi-Fi.
- Download and install the feeder’s companion app.
- Use the app to create feeding schedules.
- Set portion sizes for each meal.
- Test the feeder to ensure proper function.
Ready to give your pet the gift of consistent meals? Let’s walk through how to set up your smart pet feeder, step by step.
“`htmlGetting Your Smart Pet Feeder Set Up: Simple Steps
Setting up a smart pet feeder sounds tricky, right? Many people worry about complicated tech. But we found that most feeders are designed for ease of use. You can get yours ready in just a few steps. We’ll guide you through the entire process. Let’s make feeding time a breeze for you and your furry pal.
Before You Begin: What You’ll Need
Before you even plug anything in, let’s gather what you need. You’ll want your smart pet feeder, of course. Make sure all the parts are in the box. Also, grab your smartphone or tablet. You’ll use it to control the feeder. And don’t forget your home Wi-Fi network name and password. You’ll need those to connect the feeder to the internet.
Unboxing Your Feeder
Open the box carefully. You should find the feeder unit itself. There will likely be a power adapter. Some feeders come with a food scoop. You might also see a quick start guide. Check the contents against the manual. Make sure nothing is missing. It’s like a treasure hunt for your pet’s new best friend.
Gathering Your Wi-Fi Details
Your feeder needs to talk to your home network. So, know your Wi-Fi name (SSID). Also, have your Wi-Fi password ready. This is essential for connecting the feeder. If you have a dual-band router (2.4GHz and 5GHz), check which band your feeder supports. Many smart devices work best on the 2.4GHz band, as it offers better range.
Connecting Your Feeder to Wi-Fi and the App
This is where the magic happens. Connecting your feeder is usually straightforward. It’s like connecting a new smart speaker or a smart light bulb.
Downloading the Companion App
Most smart pet feeders require a special app. You’ll find the app’s name in your feeder’s manual. Go to your smartphone’s app store (Apple App Store or Google Play Store). Search for the app by name. Download and install it on your device. This app is your control center.
Think of the app as the remote for your feeder. It’s where you’ll set schedules, portion sizes, and more. So, make sure your phone is updated to the latest operating system. This helps ensure the app runs smoothly. We found that having the latest OS version really helps avoid little glitches.
Pairing Your Feeder with the App
Now, let’s get the feeder linked to the app. Turn on your feeder. Most feeders have a small button or indicator light for pairing. Follow the app’s instructions. It will usually ask you to put the feeder in pairing mode. Then, it will search for the feeder.
You’ll then be prompted to select your home Wi-Fi network. Enter your Wi-Fi password. The app will guide the feeder to connect to your network. This process can take a minute or two. Be patient! You might see lights flashing on the feeder. This is a good sign it’s trying to connect.
Once connected, you’ll likely be asked to name your feeder. You might also need to create an account within the app. This is often for remote access, so you can check in on your pet’s feeding from anywhere. Many experts suggest using a strong, unique password for your pet feeder account (CDC).
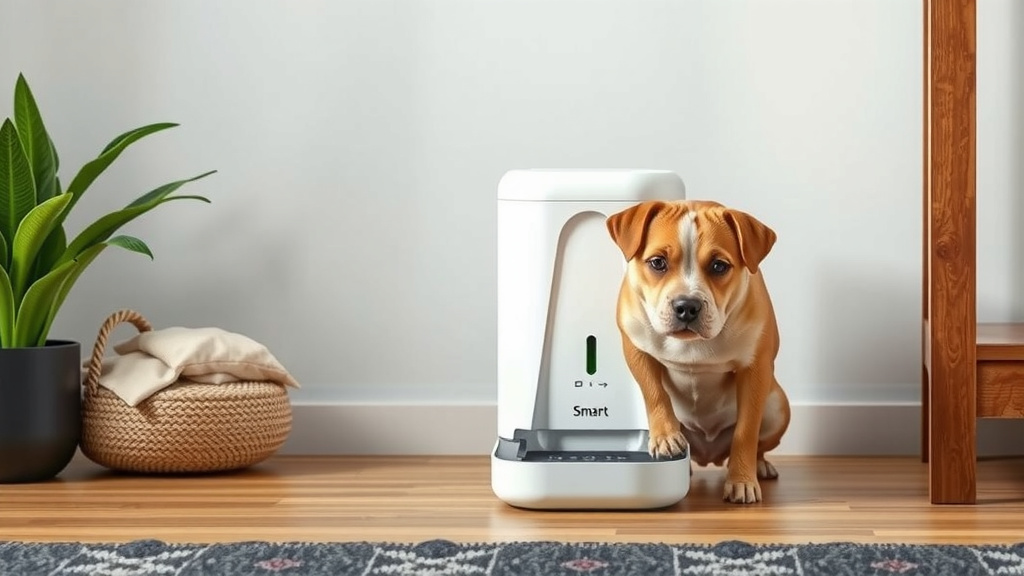
Setting Up Feeding Schedules and Portions
With your feeder online, it’s time to tell it when and how much to feed your pet. This is the core function that saves you so much time.
Creating Your First Feeding Schedule
Open the app and look for a “Schedule” or “Feeding Times” section. Here, you can add new feeding times. You can typically set multiple meals per day. For example, you might want breakfast at 7 AM and dinner at 6 PM.
You can often customize this for specific days. Maybe your work schedule changes on weekends. You can adjust the feeding times accordingly. This flexibility is a huge perk of smart feeders. It ensures your pet’s routine stays consistent.
Determining Portion Sizes
Next, for each scheduled meal, you need to set the portion size. This is vital for your pet’s health. Overfeeding can lead to obesity. Underfeeding can cause malnutrition.
Your feeder will have a way to measure portions. This is usually in units like “small cups” or “tablespoons” within the app. Consult your veterinarian about the right portion size for your pet. They can help you figure out the best amount based on your pet’s age, weight, and activity level. We found that a common recommendation is to start with the manufacturer’s guide and then adjust based on your vet’s advice (FDA).
Here’s a quick way to think about it:
| Pet Size | Suggested Starting Portion Unit (App Setting) |
|---|---|
| Small Dog/Cat | 1-2 units |
| Medium Dog | 3-4 units |
| Large Dog | 5-6 units |
Remember, these are just starting points. Your vet’s recommendation is the most important factor. You can always adjust these settings later based on your pet’s weight and health.
Using the Manual Feed Function
What if your pet looks at you with those big eyes, begging for a treat? Most apps have a “Manual Feed” button. This lets you dispense a portion of food instantly. It’s perfect for extra treats or if your pet’s schedule needs a small, immediate adjustment. Just be careful not to overdo it!
Testing and Finalizing Your Setup
Before you trust your feeder completely, a test run is a good idea. This ensures everything works as expected.
Running a Test Dispense
Use the manual feed function in the app. Dispense a small portion. Watch to see if the food comes out correctly. Check the amount. Does it seem like the right portion size you set?
Now, try setting up a test schedule. Set it for just a few minutes in the future. Make sure it dispenses food at the scheduled time. This confirms the automatic scheduling is working. It’s like a dress rehearsal for mealtime!
Checking Food Levels and Battery Backup
Ensure the food hopper is filled appropriately. Don’t overfill it. Most feeders have a sensor to alert you when food is running low. Make sure this feature is enabled in the app.
Does your feeder have a battery backup? This is super important. If the power goes out, you don’t want your pet to miss a meal. Check that the batteries are installed correctly and are fresh. It’s a good safety net, like an insurance policy for mealtime.
A Quick Setup Checklist
- Feeder is plugged in and turned on.
- Feeder is connected to your home Wi-Fi.
- Companion app is installed and logged in.
- At least one feeding schedule is programmed.
- Portion sizes are set for scheduled meals.
- A manual feed test has been successful.
Congratulations! Your smart pet feeder is now set up. You’ve successfully navigated the tech. Your pet will thank you with purrs or happy tail wags. Now you can enjoy peace of mind knowing they’re fed on time, every time.
“`Conclusion
You’ve successfully set up your smart pet feeder! By following these simple steps, you’ve ensured your furry friend will receive their meals right on schedule, even when life gets busy. This technology offers incredible peace of mind and helps maintain a healthy routine for your pet. Remember to periodically check food levels and test the app’s functions. Now, you can enjoy more quality time with your pet, knowing their feeding needs are perfectly managed.
Your next step? Enjoy watching your pet eat happily and consistently. You’ve got this!
Frequently Asked Questions
What if my Wi-Fi is not supported by the feeder?
Most smart pet feeders connect to the 2.4GHz Wi-Fi band. If your feeder only supports 2.4GHz and you have a dual-band router, you might need to enable the 2.4GHz band in your router settings. Check your feeder’s manual for specific requirements.
Can I feed my pet manually if I’m not home?
Yes, most smart pet feeders have a manual feed option within their companion app. This allows you to dispense a portion of food remotely from your smartphone, perfect for unexpected treats or schedule adjustments.
How do I know if the food portion size is correct?
The app usually lets you set portion sizes in customizable units. It’s best to consult your veterinarian for the ideal portion based on your pet’s age, weight, and breed. You can then translate that recommendation into the feeder’s settings.
What happens if the power goes out?
Many smart pet feeders include a battery backup feature. Ensure you have fresh batteries installed in case of a power outage. This safety net guarantees your pet won’t miss a meal when the electricity is temporarily unavailable.
Can I use the feeder for multiple pets?
While some feeders can accommodate multiple pets, portion control can become tricky. It’s generally recommended for single-pet households or if your pets have identical dietary needs and portion requirements.