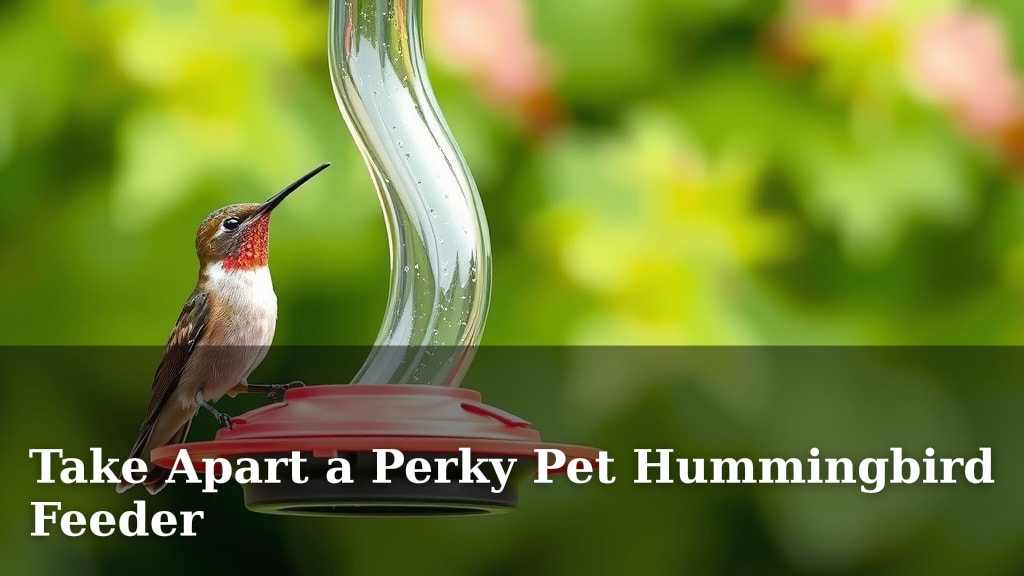
Take Apart a Perky Pet Hummingbird Feeder
Yes, you can absolutely take apart your Perky Pet hummingbird feeder for a thorough cleaning. It’s not only possible but also highly recommended for keeping your feeder hygienic and your tiny feathered friends healthy. Regular disassembly ensures you can reach every nook and cranny, preventing mold and sugar bugs.
Keeping your hummingbird feeder clean is essential for their well-being. A dirty feeder can harbor bacteria and mold, which can be harmful to hummingbirds. We found that a clean feeder also attracts more birds, making your viewing experience much more rewarding. Think of it as giving them a sparkling clean restaurant!
- Disassemble for a deep clean.
- Prevent mold and sugar bugs.
- Ensure bird health and safety.
- Attract more hummingbirds.
- Easy to take apart and reassemble.
Below, we’ll guide you step-by-step on how to take apart your Perky Pet hummingbird feeder and get it sparkling clean. Let’s get those tiny nectar connoisseurs happy and healthy!
How to Get Your Perky Pet Hummingbird Feeder Apart for Cleaning
You’re probably wondering if you can actually take your Perky Pet feeder apart. The good news is, yes, you absolutely can! Disassembling your feeder is key to a thorough and effective cleaning. It allows you to reach all those tricky spots where mold and sugary residue love to hide. We found that regular disassembly not only keeps your feeder hygienic but also makes it much more inviting for your tiny nectar-loving visitors.
Gather Your Cleaning Supplies
Before you dive in, let’s make sure you have everything you need. Having your supplies ready makes the whole process much smoother. Think of it like preparing your tools before a DIY project; it saves time and frustration.
Essential Cleaning Items
You won’t need much. Most of what you need is likely already in your kitchen. Having these items on hand ensures you can tackle any grime that has accumulated.
- Warm water: This is your primary cleaning agent.
- Dish soap: A mild dish soap works wonders for cutting through residue.
- Bottle brush: A flexible bottle brush is perfect for scrubbing inside the nectar reservoir and ports.
- Small brush or pipe cleaner: Great for getting into small crevices and feeding ports.
- Soft cloth or sponge: For wiping down the exterior and other parts.
- Old towel: To place your disassembled parts on so they don’t roll away.
What to Avoid
It’s just as important to know what not to use. Some cleaning agents can be harmful to hummingbirds. Many experts advise against using harsh chemicals or abrasive scrubbers that can damage the feeder or leave residues.
- Bleach: Never use bleach. It’s toxic to hummingbirds even in small amounts.
- Abrasive cleaners: These can scratch the plastic, creating more places for bacteria to grow.
- Steel wool or harsh scrub pads: They can damage the feeder material.
Many wildlife organizations, like the Cornell Lab of Ornithology, stress the importance of using only mild soap and water. This ensures the feeder is safe for the birds after cleaning.
Taking Your Feeder Apart
Most Perky Pet feeders are designed for easy disassembly. While models vary slightly, the general process is quite similar. We found that understanding the basic construction helps immensely.
Separating the Base and Nectar Container
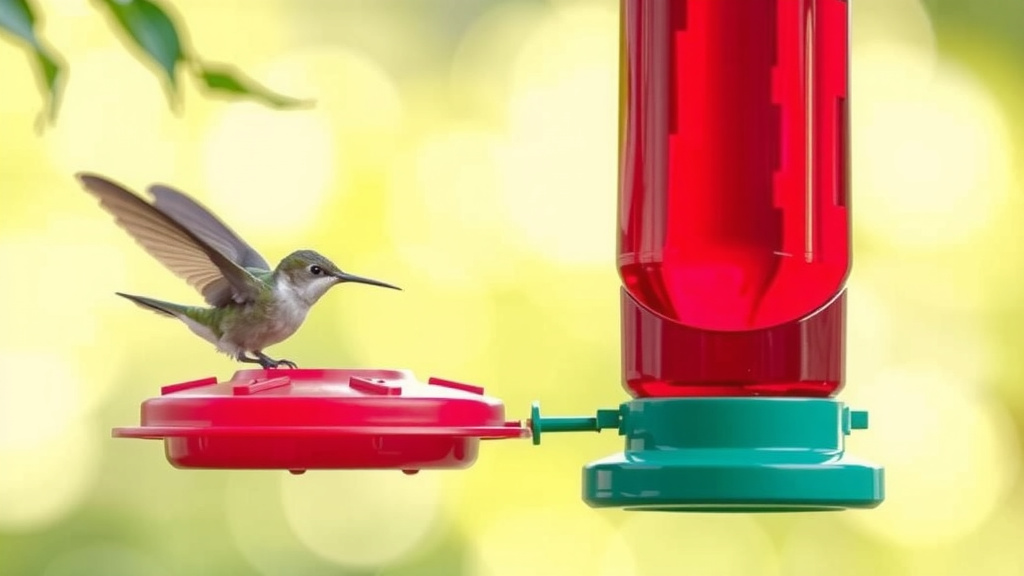
The first step is usually separating the main parts. You’ll have the base, which often holds the feeding ports, and the nectar reservoir (the bottle part). These are typically connected by a screw-on mechanism.
Gently twist the nectar container counter-clockwise. It should unscrew from the base. If it feels stuck, don’t force it. Sometimes dried nectar can make it sticky. A gentle wiggle might help.
Disassembling the Base Parts
The base itself often has multiple components. You might have decorative elements, a drip tray, or individual flower-shaped feeding ports that can be removed.
Look closely at your specific model. Some feeding ports simply snap out or can be gently pried away from the base. Others might have small clips or threads. We found that taking pictures as you go can be helpful if you’re worried about reassembly.
Many Perky Pet feeders feature bases that can be further broken down. This might include removing a drip catch or the individual feeding flowers. Carefully examine each piece for seams or small tabs that might indicate how it comes apart.
Removing Rubber Gaskets or Seals (If Applicable)
Some feeders have rubber gaskets or seals to ensure a tight fit and prevent leaks. These are crucial for keeping nectar fresh and deterring insects.
If your feeder has them, gently pull them out. They are often tucked into grooves. Be careful not to tear them. These seals are vital for the feeder’s function, so handle them with care. Many experts recommend checking these seals for wear and tear during cleaning.
Identifying All Removable Parts
Take a moment to lay out all the pieces. Make sure you have separated everything that can be separated. This includes the bottle, the base, any feeding ports, drip trays, and seals.
A visual check is your best bet here. You want to see a collection of individual components, not just two or three large pieces. If you’re unsure, consult the manual that came with your feeder or search for your specific model online.
The Cleaning Process
Now that your feeder is in pieces, it’s time to get it sparkling clean! This is where your supplies come in handy. A clean feeder is a healthy feeder.
Rinsing and Soaking
Start by rinsing all the parts under warm running water. This will wash away loose nectar and debris. For any parts with stubborn residue, a brief soak in warm, soapy water can work wonders.
Fill a basin or your sink with warm water and a few drops of mild dish soap. Let the feeder parts soak for about 10-15 minutes. This softens any dried-on gunk, making it easier to scrub away. We found that soaking is especially effective for the base and feeding ports.
Scrubbing Every Nook and Cranny
This is the most important part of the cleaning process. You need to get into every single part of the feeder. Use your bottle brush and small brush to scrub the inside of the nectar reservoir and all the feeding ports.
Pay close attention to the feeding ports. These are small openings, and a bottle brush might not fit. Use your smaller brush or pipe cleaner to ensure no sugary film remains. Residue in these areas can quickly turn into mold or attract unwanted insects. Many sources suggest using a pipe cleaner for these delicate areas.
Don’t forget the exterior! Wipe down the outside of the nectar container and the base with a soft cloth or sponge. A clean exterior makes the feeder more appealing.
Thorough Rinsing Is Vital
After scrubbing, rinse every single piece thoroughly under clean, warm water. You want to remove all traces of soap. Even a tiny bit of soap residue can be harmful to hummingbirds. You should see no more bubbles or suds. We found that rinsing each part under running water for at least 30 seconds is a good rule of thumb.
Drying the Parts
Allow all the feeder parts to air dry completely on a clean towel. Do not reassemble a wet feeder. Moisture can encourage mold growth, undoing all your hard work. A dry feeder is essential for preventing spoilage.
You can also use a soft, clean cloth to pat parts dry, especially the seals. Make sure everything is bone dry before you put it back together. This step is critical for keeping the nectar fresh and the feeder hygienic.
Putting It All Back Together
Reassembling your Perky Pet feeder is usually the reverse of taking it apart. Don’t worry if it seems a bit tricky at first. Take your time, and follow these steps.
Reinsert Seals and Ports
If you removed any rubber gaskets or seals, gently place them back into their grooves. Ensure they fit snugly. Then, reattach any feeding ports or drip trays. They usually snap or screw back into place.
Make sure each feeding port is securely attached. You don’t want any gaps where nectar could leak out or insects could get in. Many users find it helpful to press firmly until they hear a click or feel it lock into place.
Reattaching the Nectar Container
Finally, screw the nectar container back onto the base. Again, do this counter-clockwise to tighten. Make sure it’s secure but don’t overtighten, as this could crack the plastic. A snug fit is all you need.
Give the assembled feeder a gentle shake. You shouldn’t feel any looseness. If it feels wobbly, check the connection between the container and the base. A secure connection prevents leaks and makes the feeder more durable.
Your Quick Feeder Cleaning Checklist
Here’s a handy checklist to ensure you haven’t missed a step. Checking these items off will give you peace of mind.
- Gathered all necessary cleaning supplies.
- Feeder is completely disassembled.
- All parts have been scrubbed thoroughly.
- All soap residue has been rinsed away.
- Feeder parts are completely dry.
- Feeder is securely reassembled.
Conclusion
You’ve now learned how simple it is to take apart your Perky Pet hummingbird feeder for a thorough cleaning. Regular disassembly and cleaning are key to providing safe, healthy nectar for your visitors. By following these steps, you can easily banish mold and sugar bugs, ensuring your feeder is always inviting. This consistent care will keep your feathered friends returning for delightful visits. So, the next time your feeder needs a clean, you’re fully equipped to tackle it!
Frequently Asked Questions
How often should I clean my Perky Pet hummingbird feeder?
You should aim to clean your feeder at least twice a week, especially in hot weather. If you see any signs of mold or cloudy nectar, clean it immediately. Frequent cleaning prevents harmful bacteria from developing and keeps the nectar fresh for the hummingbirds.
What if my Perky Pet feeder parts are stuck together?
If parts feel stuck, don’t force them. Dried nectar can cause sticking. Try soaking the feeder in warm, soapy water for about 15-30 minutes to loosen things up. A gentle wiggle might help it come apart after soaking.
Can I use hot water to clean my hummingbird feeder?
Warm water is best, but avoid using extremely hot or boiling water. Very hot water can warp or damage the plastic components of your feeder. Stick to warm tap water to keep your feeder in good condition.
Why is it important to let the feeder dry completely?
Allowing all parts to air dry completely is vital to prevent mold growth. Reassembling a wet feeder introduces moisture, which can quickly lead to spoilage and harmful bacteria. Bone-dry parts ensure the nectar stays fresh longer.
My feeder seems to be leaking after reassembly, what could be wrong?
A leak usually means a seal or gasket wasn’t replaced correctly, or it might be damaged. Double-check that all rubber seals are seated properly in their grooves and are not torn. Ensure the nectar container is screwed on snugly but not overtightened.