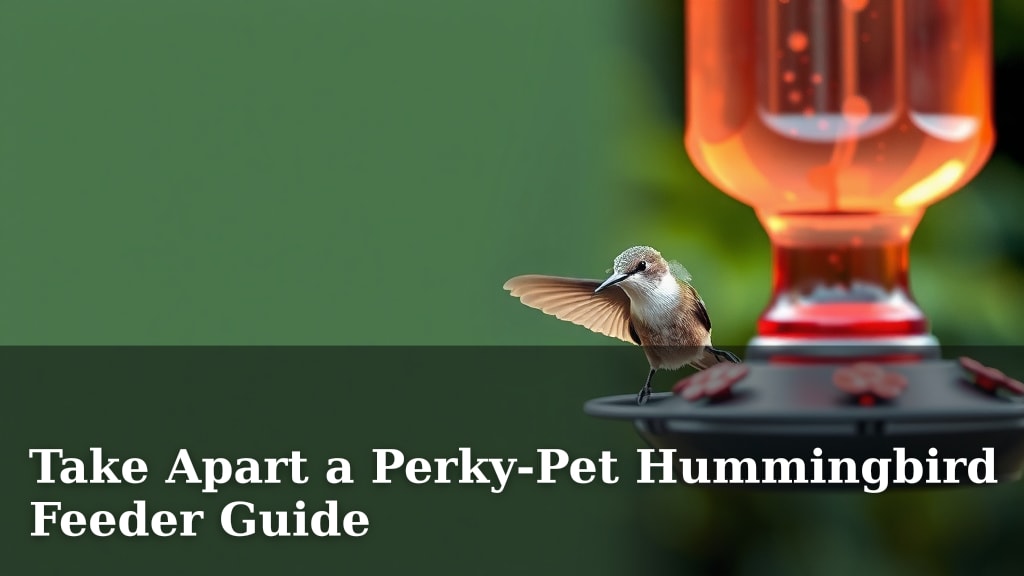
Take Apart a Perky-Pet Hummingbird Feeder Guide
Yes, you can easily take apart your Perky-Pet hummingbird feeder for thorough cleaning. This is essential for keeping your feathered friends healthy and attracting more visitors to your yard. Disassembly prevents mold and bacteria buildup.
Regular cleaning is key to a happy hummingbird habitat. A dirty feeder can deter hummingbirds and even make them sick. We found that a clean feeder means more visits and a more enjoyable experience for everyone. It’s a simple step for a big reward.
- Taking apart your Perky-Pet feeder is simple.
- It’s crucial for hummingbird health.
- Prevents mold and bacteria growth.
- Ensures more hummingbirds visit your feeder.
Let’s walk through how to safely and effectively take your Perky-Pet feeder apart, step-by-step.
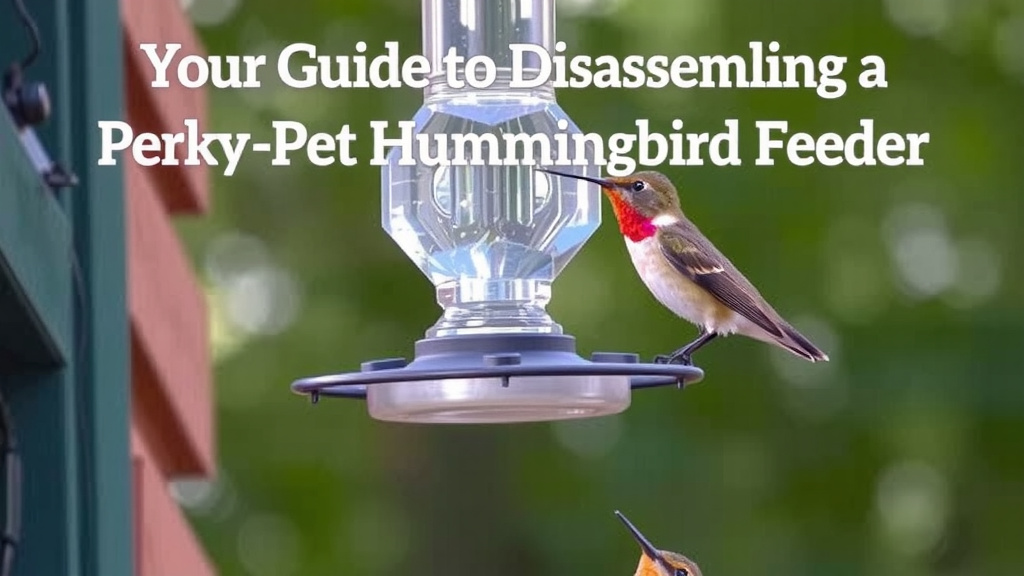
Your Guide to Disassembling a Perky-Pet Hummingbird Feeder
Taking apart your Perky-Pet hummingbird feeder is a simple process. You can do it without any special tools. This guide will walk you through each step. We want to make sure your feeder stays clean and inviting for your tiny visitors. A clean feeder is key to keeping hummingbirds healthy and happy. Many experts agree that regular cleaning prevents the buildup of mold and bacteria (CDC).
Why Taking Your Feeder Apart Matters
You might wonder if it’s really necessary to take your feeder apart. The short answer is yes! Hummingbirds have delicate digestive systems. They can get sick from moldy or bacteria-filled nectar. We found that a thorough cleaning involves more than just rinsing the feeder. It means getting into all the nooks and crannies. This is where nasty stuff likes to hide. By disassembling it, you ensure no part of the feeder is missed. This keeps the nectar fresh and safe for your feathered friends.
Preventing Common Feeder Issues
Dirty feeders can lead to a few common problems. Mold can grow quickly in the warm, moist environment. Fermentation of the nectar can also occur. This can produce alcohol, which is harmful to hummingbirds. We found that a feeder left dirty for too long might even start to smell. This can deter hummingbirds altogether. Taking it apart allows you to scrub away any buildup and prevent these issues. It’s like giving your feeder a spa day!
Ensuring Hummingbird Health
The health of hummingbirds is a top priority for many feeders. Research shows that feeding stations can be breeding grounds for bacteria like Salmonella (Journal of Avian Medicine and Surgery). These bacteria can lead to serious illness in hummingbirds. A clean, disassembled feeder eliminates these risks. You’ll be providing a safe and healthy food source. This encourages them to return again and again. It’s a small effort for a big reward in supporting these amazing creatures.
Step-by-Step Disassembly of Your Perky-Pet Feeder
Most Perky-Pet feeders are designed for easy cleaning. They usually come apart in just a few pieces. Let’s break down the general process. Remember, the exact steps might vary slightly depending on your specific model. But the basic principles are the same.
Gather Your Cleaning Supplies
Before you start, get everything ready. You’ll need warm water. A bottle brush or a specialized hummingbird feeder brush is very helpful. Mild dish soap can be used sparingly. Some people prefer to use a diluted vinegar solution. This can help with disinfecting. Always have a clean towel or drying rack handy. Having everything in one place makes the process smoother.
Empty and Rinse the Feeder
First, pour out any remaining nectar. Do this over a sink or outside. Then, give the entire feeder a good rinse with warm water. This will remove loose nectar and any debris. It’s a good starting point before you begin taking it apart. You want to start with a clean slate.
Disassemble the Feeder Base
Most Perky-Pet feeders have a base that unscrews from the bottle. Gently twist the base counter-clockwise. It should separate from the glass or plastic reservoir. Some feeders might have additional small parts, like bee guards. These usually pop off or unscrew as well. Take note of how they come off so you can put them back correctly.
Separating the Feeder Ports
Look closely at the base. The feeding ports or flowers might be removable. Sometimes they twist off. Other times, they might snap into place. If you’re unsure, check your feeder’s instruction manual. Don’t force anything. If a part seems stuck, a gentle wiggle is usually all it needs. We found that most parts are designed to release easily.
Cleaning the Individual Parts
Now that it’s in pieces, you can clean each part thoroughly. Use your bottle brush to scrub the inside of the bottle and the base. Pay special attention to the feeding ports. These are where hummingbirds drink, so they need to be spotless. If using soap, rinse extremely well. We found that even a tiny bit of soap residue can deter hummingbirds. A hot water rinse is often enough to get things clean.
Drying and Reassembly
After cleaning, let all the parts air dry completely. This is important to prevent mold. Place them on a clean towel or a drying rack. Once everything is dry, you can reassemble the feeder. Simply reverse the disassembly steps. Twist the base back onto the bottle. Reattach any bee guards or flower ports. Make sure everything is snug and secure.
When to Clean Your Feeder
How often should you perform this routine? It depends on the weather. In hot temperatures, clean your feeder every 1-2 days. Nectar spoils faster in the heat. In cooler weather, you might get away with cleaning every 3-4 days. We found that checking the nectar daily is the best approach. If it looks cloudy or has any sign of mold, it’s time for a cleaning, no matter the schedule. Consistency is key to a healthy feeder.
Your Hummingbird Feeder Cleaning Checklist
Here’s a quick rundown to make sure you’ve covered all the bases:
- Empty old nectar completely.
- Rinse all parts with warm water.
- Disassemble the base and ports.
- Scrub all pieces thoroughly.
- Rinse well and let parts air dry.
- Reassemble feeder securely.
Conclusion
You’ve learned how taking apart your Perky-Pet hummingbird feeder is a simple, yet essential task. By following these steps, you ensure a clean and safe environment for your hummingbirds. This prevents sickness and encourages more frequent visits to your yard. Remember, consistency is key to a healthy feeder habitat. So, make cleaning a regular part of your hummingbird care routine. Your feathered friends will thank you for it with their vibrant presence.
Frequently Asked Questions
How often should I take apart my Perky-Pet feeder?
You should take apart and thoroughly clean your feeder at least once a week. In very hot weather, this cleaning frequency may need to increase to every one to two days. We found that checking the nectar condition daily helps you decide if it’s time for a deep clean.
Can I use bleach to clean my hummingbird feeder?
It’s generally best to avoid bleach. While it can disinfect, any residue can be harmful to hummingbirds. A diluted vinegar solution or mild dish soap, rinsed extremely well, is a safer alternative that research supports.
My Perky-Pet feeder seems stuck. What should I do?
Don’t force parts that seem stuck. Sometimes, gentle wiggling or a brief soak in warm water can help loosen them. Check your specific Perky-Pet model’s manual if you’re unsure about a part. We found that most parts are designed for easy removal without tools.
What if I don’t have a special feeder brush?
A clean bottle brush or even a sturdy pipe cleaner can work well for scrubbing. The goal is to reach all the nooks and crannies inside the feeder. You want to ensure no nectar residue or mold remains.
Are Perky-Pet feeders difficult to reassemble?
No, reassembly is usually very straightforward. It’s simply the reverse of the disassembly process. Just make sure all parts are completely dry before putting them back together. A secure reassembly ensures no leaks and a safe feeding experience.