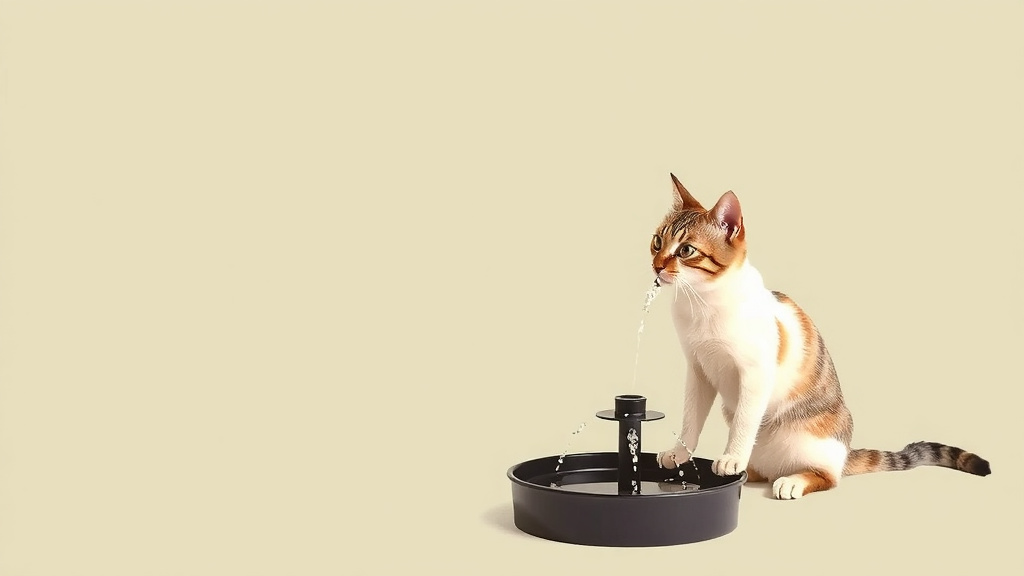
Step-by-Step Cat Water Fountain Assembly Guide
To assemble your cat water fountain, start by rinsing every part in warm water, then place the pump in the base, attach the spout or dome, and secure the top. You don’t need tools, and most models click together in under five minutes. We found that following the order of the manual for your specific model is the fastest way to avoid leaks.
Whether you have a plastic, ceramic, or stainless steel fountain, the basic steps stay similar. Getting the pump primed with water before turning it on is the most common step people miss. Proper assembly keeps the motor quiet and prevents your cat from tipping the bowl over.
- Unbox and rinse: Wash all parts with mild soap and warm water. Skip the dishwasher for the pump.
- Connect the pump: Attach the tubing and place the pump flat in the base reservoir.
- Add water first: Fill the basin before stacking the upper tiers to push water up correctly.
- Lock the top: Twist or snap the lid into place to avoid a fountain that sprays sideways.
- Prime and test: Plug it in and check the flow. Adjust the flow dial if the water splashes too much.
Below, we break down each assembly step in plain English so you can get fresh, running water in front of your cat tonight.
Putting Together Your Cat Water Fountain the Easy Way
You want fresh water flowing for your cat, but the box of parts looks like a puzzle. Don’t worry. Most fountains assemble in about five minutes once you know the trick. We found that taking a quick inventory first saves you from a frustrating leak later.
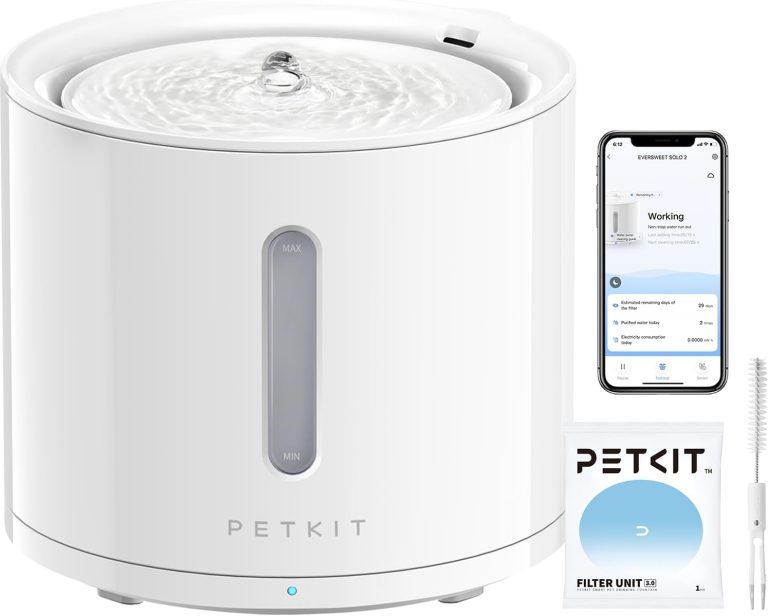
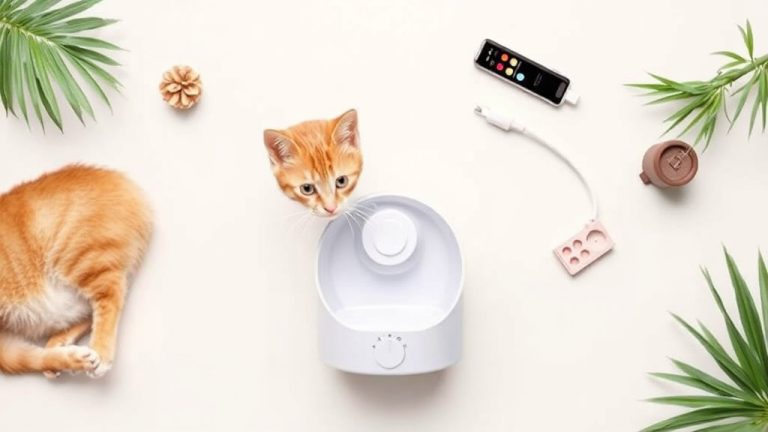
Lay everything out on a towel. You should see the base reservoir, the pump, tubing, a filter, and the top tier or spout. Check the manual for a parts diagram. Match each piece to the diagram before you start. This simple step prevents you from forcing pieces into the wrong slots.
Why a Clean Start Matters So Much
Manufacturers ship these fountains with dust and residue from the factory. Rinse every piece with warm water before the first assembly. Use a mild dish soap. Skip the dishwasher, especially for the pump.
The pump is the heart of your fountain. Dishwasher heat can warp the plastic housing. Hand washing is gentler and keeps the seals tight. We found that a soft sponge works best. Avoid abrasive scrubbers on stainless steel models.
Check the Pump and Tubing First
The pump sits inside the base reservoir. Attach the tubing to the pump outlet before you place it down. Some pumps have a small rubber gasket inside the connector. Make sure it’s seated properly.
Push the tubing on until it stops. Give it a gentle tug. If it slides off, you need a tighter fit. Most kits include a small hose clamp or a tapered fitting. Use it if yours came with one.
Step-by-Step Assembly for a Leak-Free Fountain
Now you have clean parts and a prepped pump. Follow this order and you will avoid the most common mistakes. We found that people who skip the water-first step end up with a noisy, sputtering fountain.
Place the pump flat in the bottom of the base. Press it down so the suction cups grip the surface. A floating pump vibrates and makes loud humming sounds. Many experts say a stable pump base is the key to quiet operation.
Fill the Basin Before Stacking Tiers
This is the step everyone forgets. Pour water into the base reservoir first. Fill it to the line indicated inside. Then stack the upper tiers or attach the spout.
Why does order matter? The pump needs water to push up through the tube. Running it dry even for a few seconds can damage the motor. The water also adds weight, which helps the upper pieces sit snug and stable.
Attaching the Spout or Dome Top
Depending on your model, you either twist or snap the top into place. Line up the tabs with the slots in the base. Press down firmly and twist clockwise if your model uses a bayonet lock.
For dome-style fountains, place the dome over the center spout. Push straight down until you hear a click. That click means the seal is seated. If you don’t hear it, lift and try again. Forcing it can crack the plastic.
Inserting the Filter Properly
Filters have a specific orientation. Look for the foam layer and the carbon core. The foam side usually faces outward toward the water flow. The carbon side faces the pump.
Rinse the filter under running water for 30 seconds before installing. This activates the carbon and removes loose black dust. Place the filter in its designated slot. Some fountains hold it vertically, others horizontally.
Priming the Pump and Testing the Flow
You are almost done. Now comes the moment of truth. Plug in the fountain and watch the water start to flow. Give it a few seconds to circulate fully.
If you hear gurgling or see sputtering, that is normal for the first 30 seconds. Air is working its way out of the tube. If it continues longer than a minute, check that the water level is high enough.
Adjusting the Flow Dial for Your Cat
Most pumps have a small dial on the side or bottom. Turn it to control the water flow. Kittens and senior cats prefer a gentle trickle. Active cats often like a stronger stream.
We found that starting at the lowest setting is smart. You can always increase the flow later. A gentle flow creates less splashing and keeps the surrounding floor dry. Your cat will tell you what they like by how often they drink.
Fixing a Fountain That Leaks or Splashes
A leak usually means a misaligned seal. Turn off the pump and lift the top pieces off. Check the rubber O-rings and gaskets. Make sure they sit evenly in their grooves.
Reassemble and press each piece firmly. Twist the top until it locks. If water still escapes, check the tubing connection at the pump. A loose tube causes water to pool around the motor.
Daily Maintenance After Assembly
Your fountain is running and your cat is curious. Now you need to keep it that way. We found that a quick daily check prevents bigger problems down the road.
Top off the water level every day. Add fresh water to keep the pump fully submerged. A pump that runs dry makes a loud grinding noise. That sound means you need to act fast.
A Simple Daily Checklist
- Check the water level and refill if needed.
- Look for floating debris or hair on the filter.
- Wipe the top rim with a damp cloth to remove slime.
- Listen for unusual pump noise or vibration.
- Check the floor for water puddles indicating a leak.
- Confirm the flow is steady and not sputtering.
Weekly Deep Cleaning Routine
Once a week, take the fountain apart completely. Rinse all pieces under warm water. Use a bottle brush to clean the pump housing. Vinegar helps remove hard water scale (NHS recommends vinegar for limescale).
Soak the pump in a 50/50 white vinegar and water solution for 15 minutes. Rinse thoroughly before reassembling. Never put the pump in the dishwasher. Heat damages the motor windings.
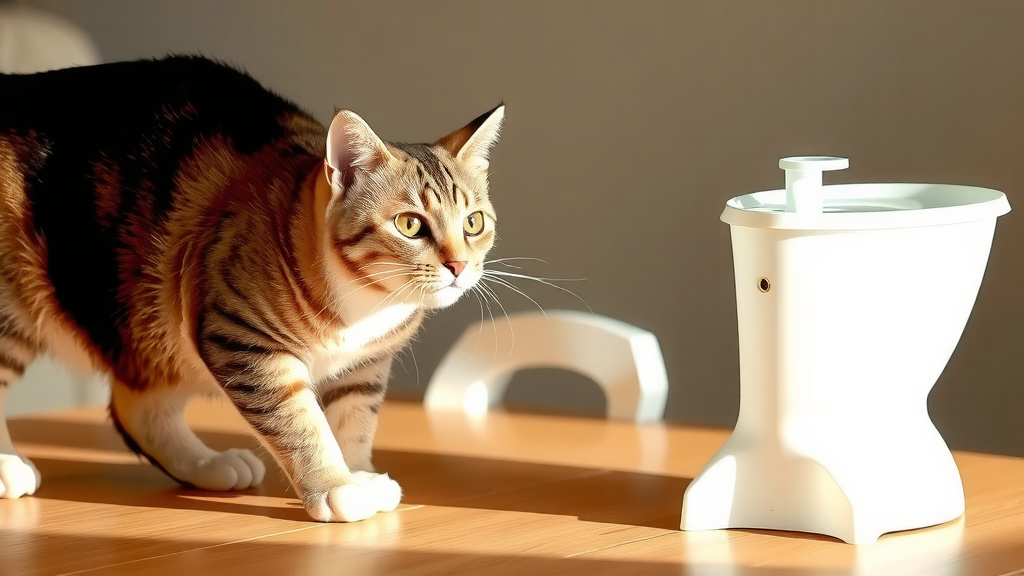
Model-Specific Assembly Differences
Not all fountains are built the same. Plastic, ceramic, and stainless steel each have unique quirks. We found that knowing your material helps you avoid cracking or chipping during assembly.
Plastic Fountains
These are lightweight and easy to assemble. The pieces snap together with tabs. Be gentle, as plastic tabs can break if you force them. They also scratch easily, so use soft sponges only.
Ceramic Fountains
Ceramic is heavy and sturdy. The weight helps prevent tipping. The pieces often sit on top of each other without locking tabs. Just align them carefully and set them down gently.
Ceramic chips easily on the edges. Place the base on a towel while assembling. This cushions the bottom and prevents slips. Always lift, never slide, the pieces across a counter.
Stainless Steel Fountains
These have a premium feel and resist bacteria. The metal pieces often twist-lock into place. You may need a bit more force to seat the seals. The tight fit is what prevents leaks.
Stainless steel shows water spots easily. Dry all pieces with a soft cloth before storing. This also prevents mineral buildup on the polished surface.
Troubleshooting Common Assembly Mistakes
Even careful people hit snags. We found that most problems trace back to three issues. Water level, seal position, or pump placement. Check these first before calling support.
| Problem | Likely Cause | Quick Fix |
|---|---|---|
| Loud humming | Pump not flat on base | Press down to seat suction cups |
| Water spraying sideways | Top tier not locked | Twist until you hear a click |
| No water flow | Pump not primed | Fill base with water before plugging in |
| Water pooling at base | Tubing loose at pump | Push tubing on firmly and add clamp |
| Weak stream | Filter is clogged | Rinse filter or replace it |
When to Call Customer Support
Some issues need a professional eye. If the pump makes a grinding noise after priming, stop using it. A damaged impeller can fail completely. Contact the manufacturer for a replacement part.
If you have a leak that won’t stop, check for a cracked base. Cracks often happen from overtightening the top. A cracked reservoir needs a full replacement, not a patch job.
Getting Your Cat Used to the New Fountain
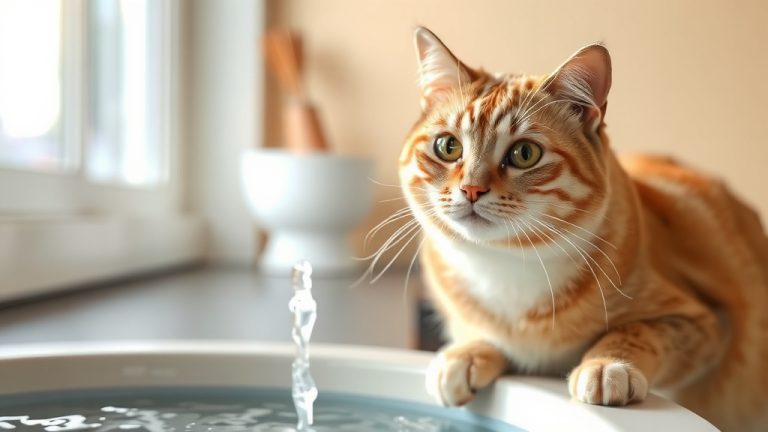
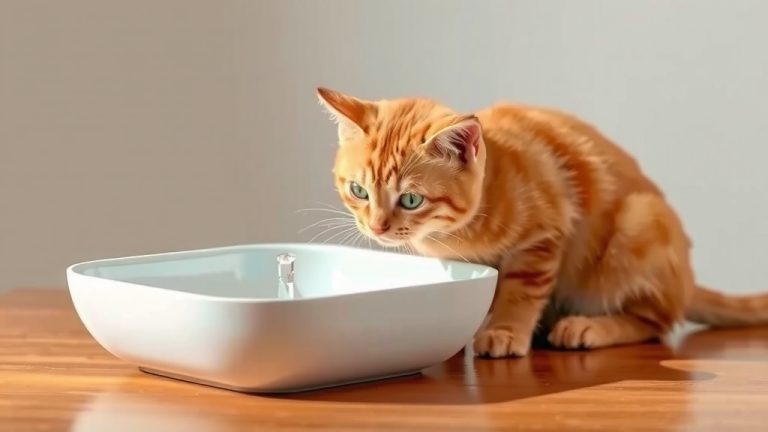
Some cats are suspicious of new things. Place the fountain near their old water bowl at first. Let them explore it while it’s running. The sound of moving water attracts many cats naturally.
We found that a gradual transition works best. Keep the old bowl for the first few days. Once you see your cat drinking from the fountain regularly, you can remove the old bowl.
Conclusion
You now have everything you need to get your cat water fountain running smoothly. The whole process comes down to five simple habits: rinse parts first, seat the pump flat, add water before stacking, lock the top securely, and prime the motor before plugging in. We found that most leaks and noisy pumps trace back to skipping one of these steps.
Your cat will appreciate the fresh, moving water. You will appreciate not refilling a bowl twice a day. Take five minutes tonight to assemble your fountain and run the initial test. Your cat will thank you with more hydration and fewer urinary issues. Start with a clean unit and a simple daily top-off routine. That is all it takes to keep the water flowing for years.
Frequently Asked Questions
Can I run my cat water fountain without a filter?
You can run it temporarily, but we do not recommend it for daily use. The filter catches hair, dust, and food debris that would otherwise recirculate in the water. Without one, the pump will clog faster and the water will turn slimy within a day or two.
How often should I replace the filter in my cat fountain?
Most manufacturers suggest replacing the filter every two to four weeks. You should replace it sooner if you have multiple cats or if the water flow noticeably slows down. A quick weekly rinse keeps the filter working at full strength between swaps.
Why does my cat water fountain keep turning off?
Your pump is likely running dry or overheating from low water levels. Most pumps have an auto-shutoff safety feature when they sense no water. Check the fill line in the base and add fresh water daily to prevent this from happening.
Is it safe to leave a cat water fountain running all the time?
Yes, leaving it running 24/7 is completely safe and actually recommended. The constant circulation keeps the water oxygenated and fresh. Just make sure the water level stays above the pump at all times to prevent motor damage.
Should I use tap water or filtered water in my cat fountain?
Tap water is fine for most cats, but filtered water is better if your tap water has high mineral content. Hard water leaves scale buildup on the pump and fountain surfaces. If you notice white residue after a few days, switch to filtered or distilled water.